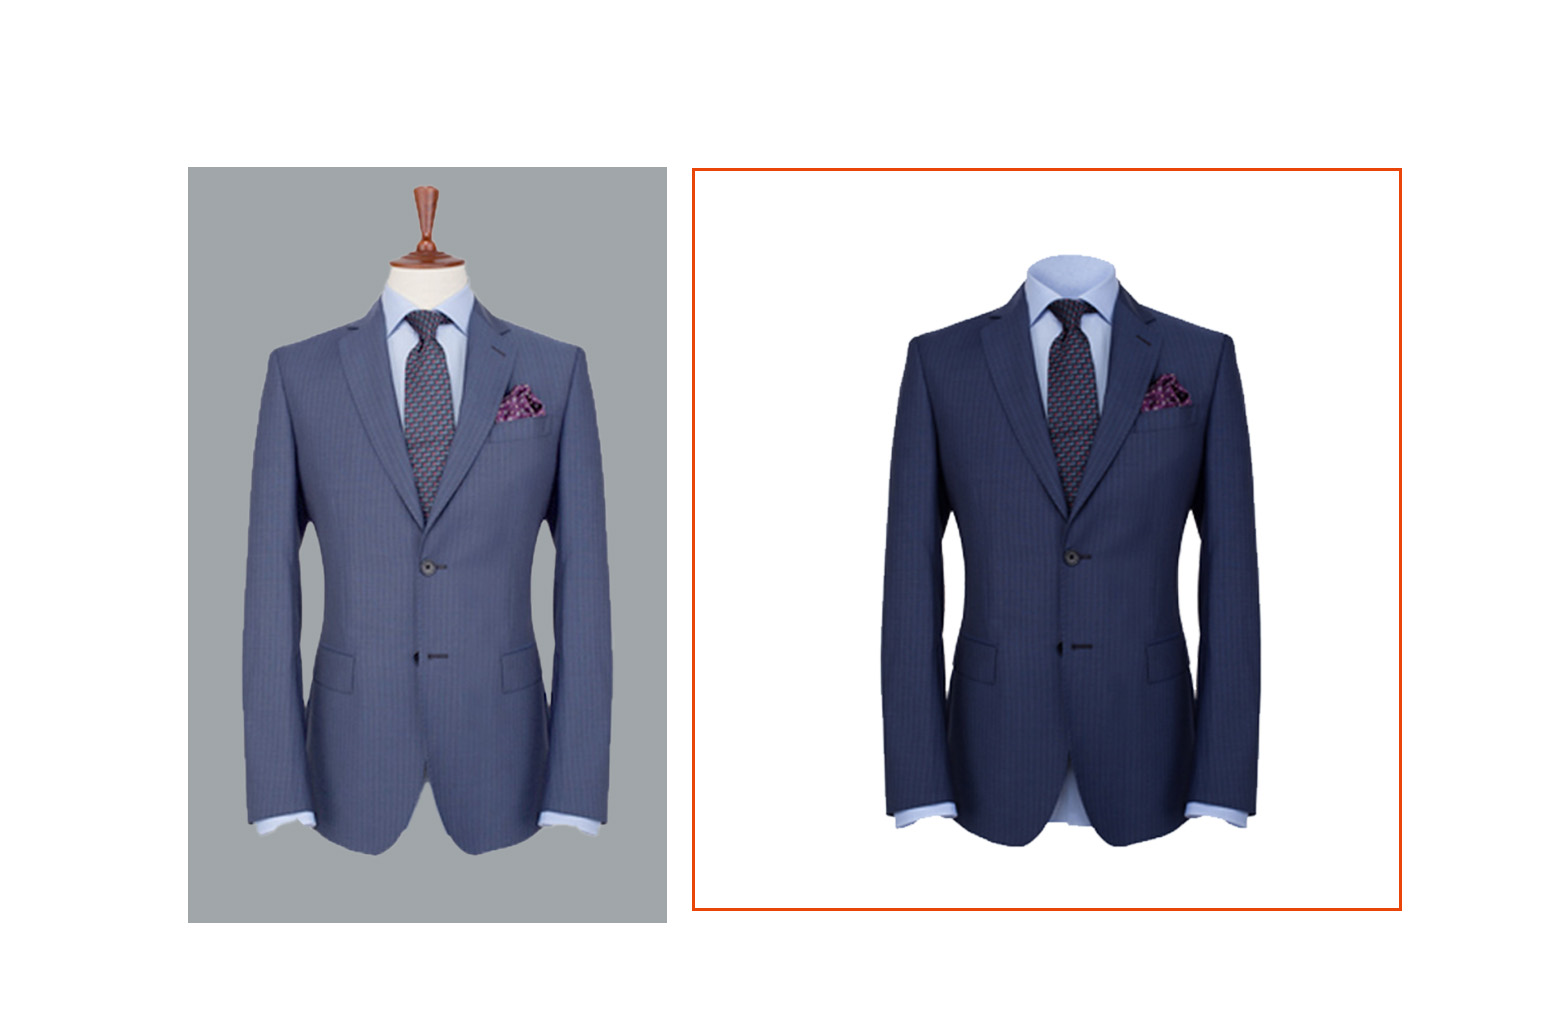
Creating ghost mannequins is not an easy job. You have to blend multiple images perfectly and maintain the garment’s natural shape. Customers will get a clear picture of how the attire will fit and drape when they wear it. However, it is a hassle to plan and capture Mannequin photos at home and finally post-process them to add a ghost mannequin effect. This article will give you a clear idea of how to create a ghost mannequin effect DIY.
How to Create Ghost Mannequin Effect DIY at Home for Clothing Photography?
You can follow different methods to add a mannequin effect to your clothing image. Here are some step-by-step guidelines to help you add a ghost mannequin effect DIY at home.
What Do You Need for Mannequin Clothing Photography?
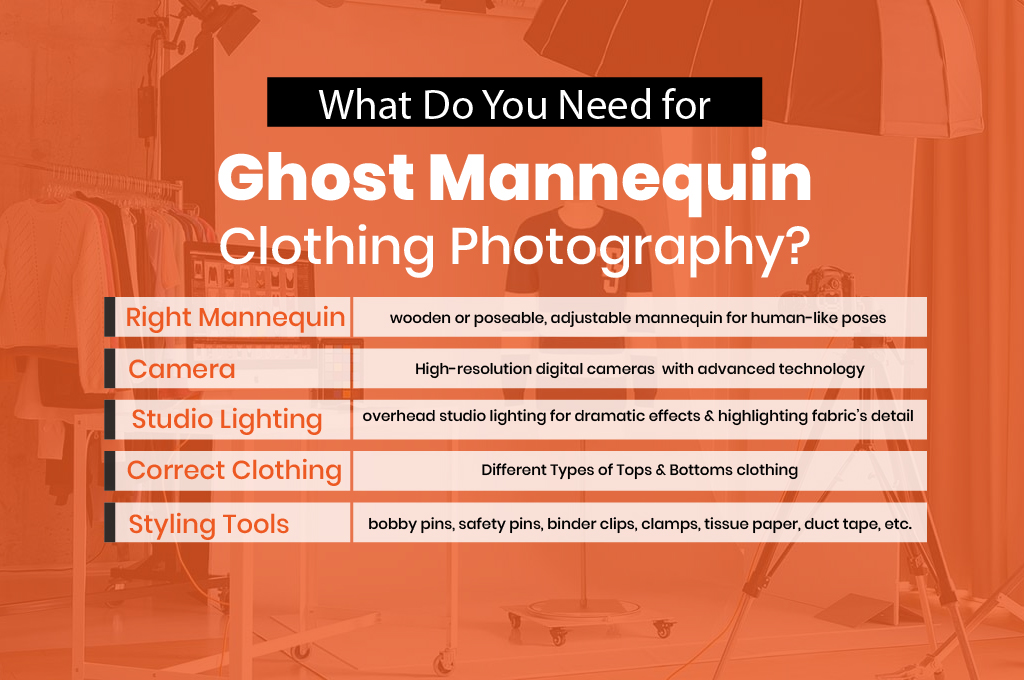
Right Mannequin: Choose an adjustable mannequin that has standardized measurements and decent proportional measurements. These wooden or poseable mannequins usually have human-like poses and adjustable features.
Camera: High-resolution digital cameras are used for clothing photography. They have advanced technology and are easy to connect with studio lighting.
Studio Lighting: Choose overhead studio lighting to create a dramatic effect in your clothing photography. Plus, it can highlight the fabric’s texture and detail.
Correct Clothing: Select the right clothing and prepare it for clothing photography. For mannequin photography, you can use shirts, jackets, coats, blazers, and other outer garments.
Styling Tools: Use Styling or bobby pins, safety pins, crocodile or binder clips, clamps, tissue paper, duct tape, etc., to tighten the attire.
How To Take a Perfect Ghost Mannequin Clothing Shot?
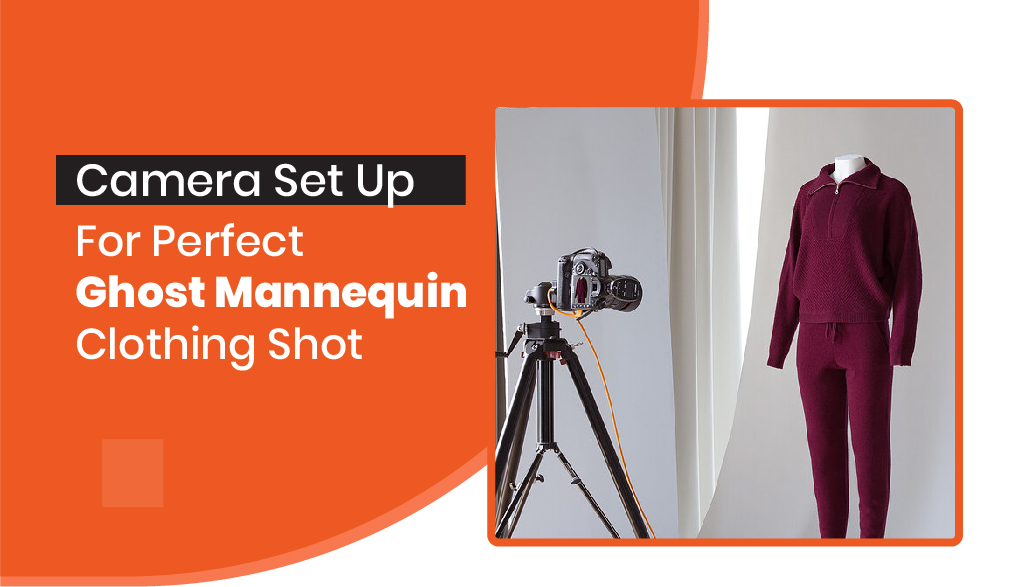
Camera Setup: ISO, aperture, and shutter speed are the three most important aspects of taking a perfect mannequin clothing shot. Keep the shutter speed at 1/13 initially. The ISO should be between 100 and 200 to minimize noise and grain.

Multiple Mannequins: You may need torsos, legs, and a full-body mannequin to shoot different types of clothes.
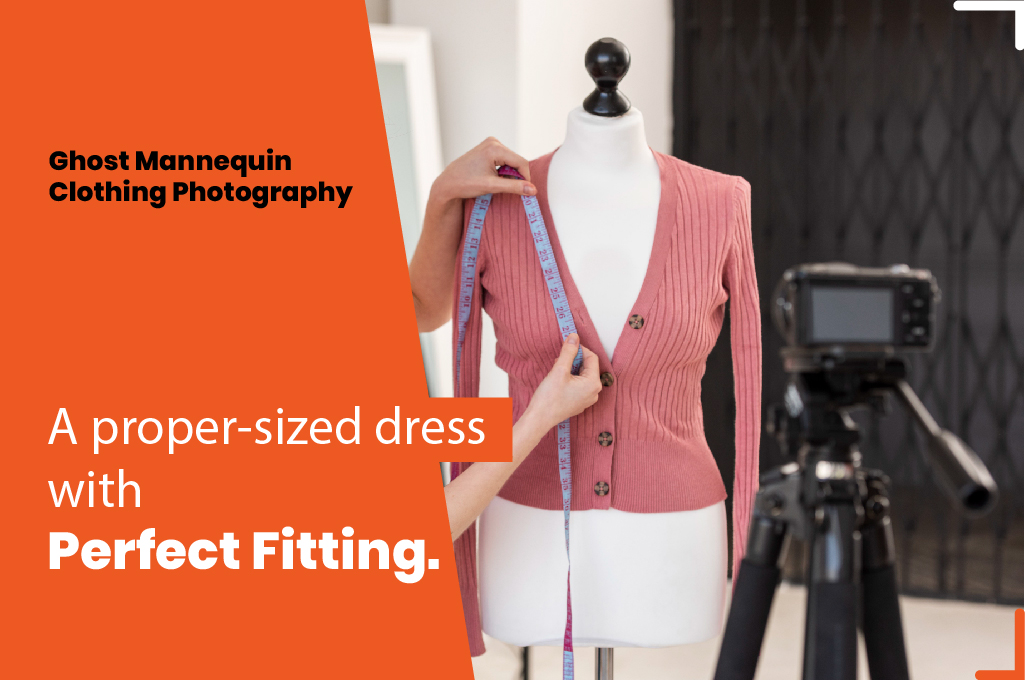
Dress Your Mannequins: Choose a proper-sized dress that flows naturally along the mannequin’s contours. It will show a realistic presentation of clothing. The fitting should not be too tight or loose. Take enough time to put the attire onto a white matte mannequin.
Style Your Clothes: If the garment is loose, use various styling tools to tighten it. There should not be any bad wrinkles, folding, or scratches. Keep the clothing free from visible creases or bunching.
Take Clothing Photos: Capture multiple images from different angles, including front, back, and inside out.
How to Edit a Clothing Image for Mannequin Photography
Once you are happy with the product shots, it is time to edit them and create the effect.
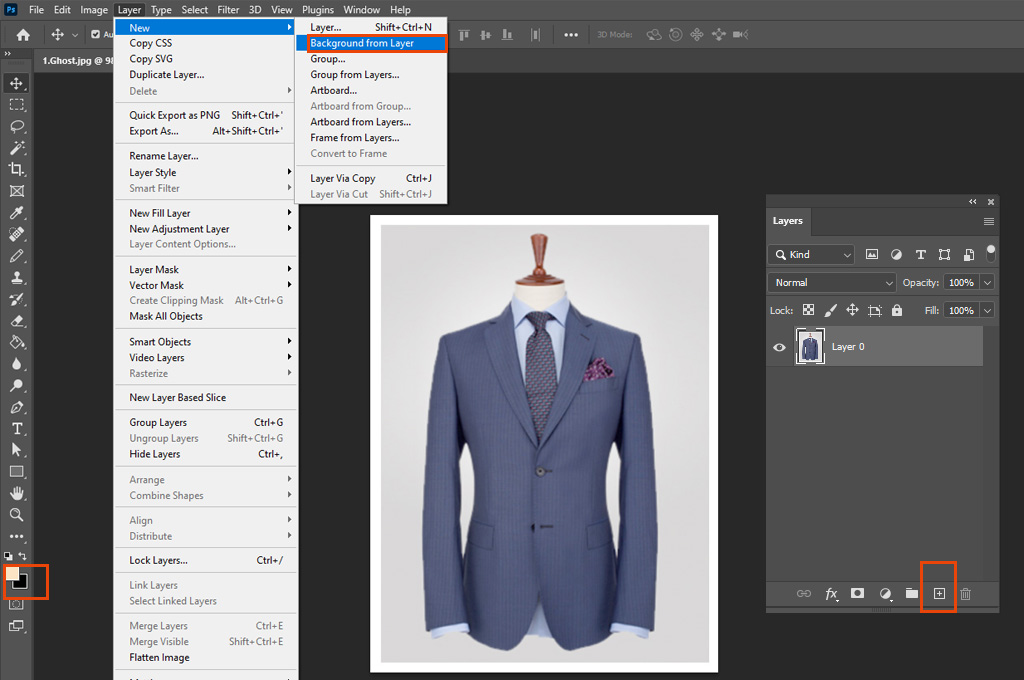
Step_01: Import the photo to which you want to add the effect. Select Layer > New > Background From Layer to add a new background layer. Choose Edit > Fill Layer and add white as “Foreground Color.”
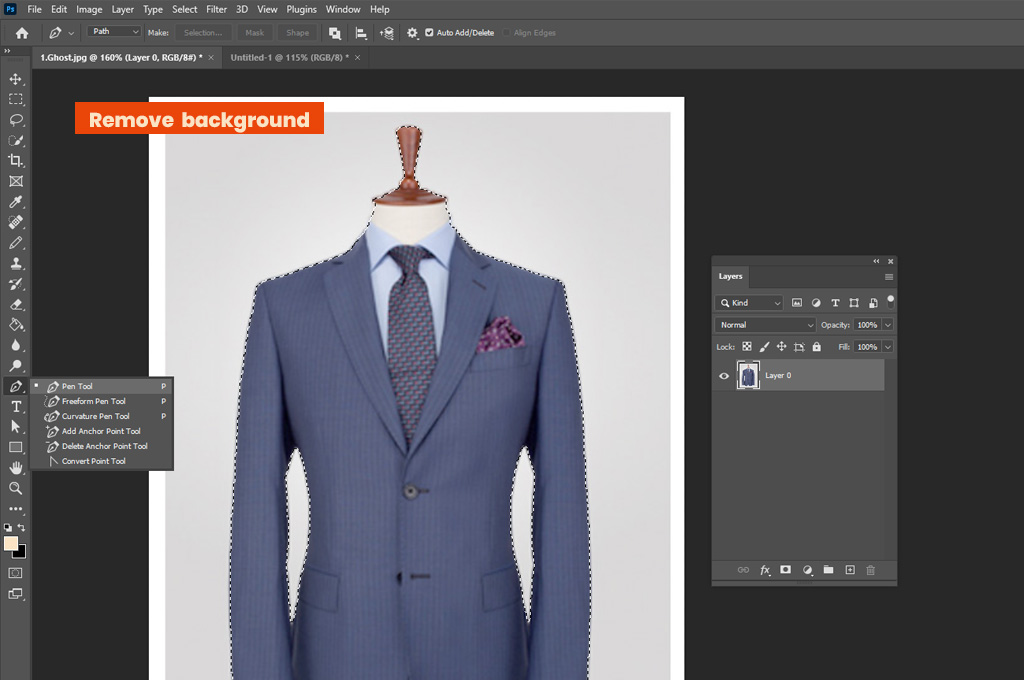
Step_02: Tap on the photo and figure out the product. Use a selection tool to select specific areas of the clothing product and remove the background.
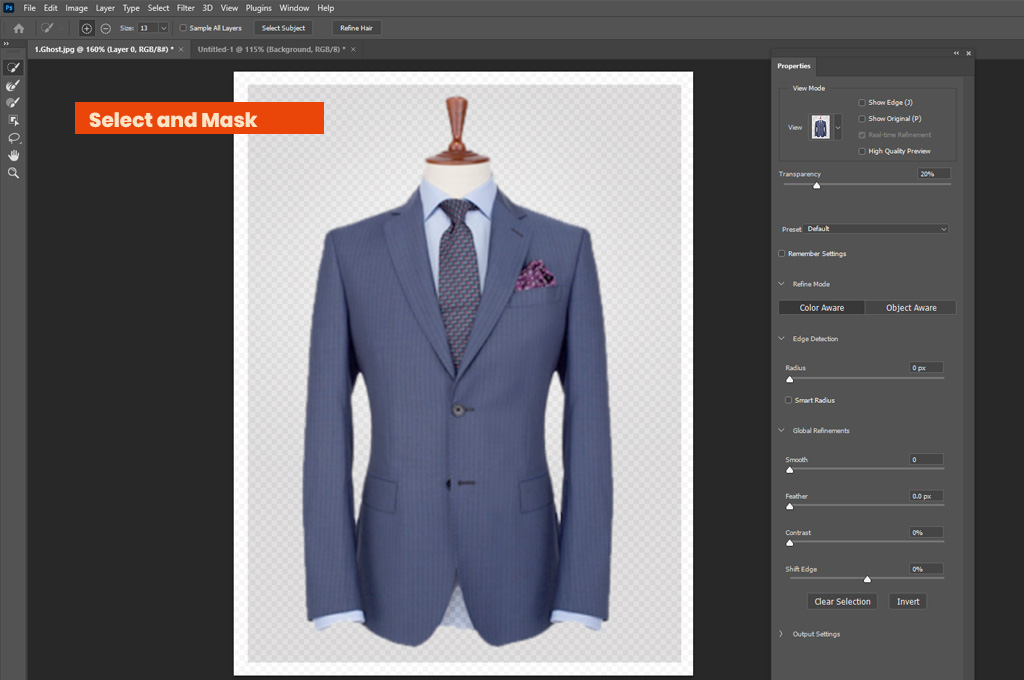
Step_03: Head to the Select and Mask option from the upper menu panel. Adjust the Refine Edge tool settings from the Properties tab.
Step_04: Navigate to the “Refine Edge” dialogue box, mask the image on that layer, and tap “OK.”
Step_05: Create a new layer. Choose the inner image of the product containing the neckline, tags, lining, or cuffs.
Step_06: Mask the inner image of the clothing and drag it over the mannequin garment photo. Make sure both masks are properly cleaned and tightened.
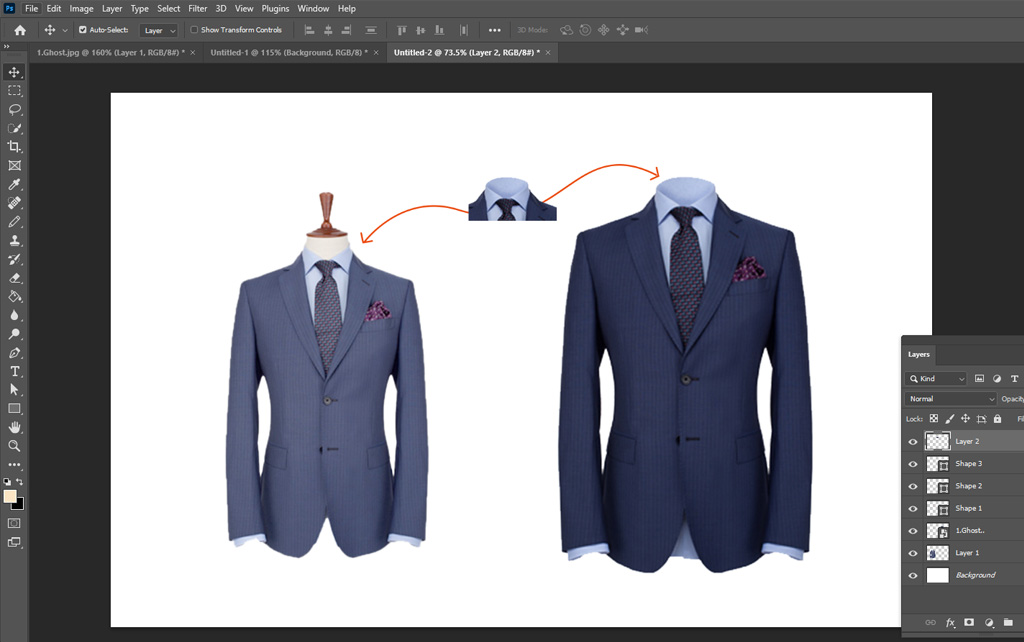
Step_07: Keep the inner image of the clothing on the bottom and the ghost mannequin image on the front panel of the layers.
Step_08: Adjust the position and proportion of the inner image perfectly to keep it properly aligned at the back of the mannequin photo.
Step_09: Remove any unwanted parts from the inner image layer and keep it clean and precise. Finally, save the photo once you are satisfied with the result.
Similar Reads for You
Wrapping UP
A perfect ghost mannequin will create a realistic, lively look to entice buyers to buy your clothing products. However, you must learn the art of making good-looking hollow mannequins. Make sure to follow our step-by-step guidelines on how to create a ghost mannequin effect DIY and present your attires perfectly.