How To Use Turntables For 360° Product Photography
Customers can’t touch products online like in-store. They have to rely on visuals, right? But how about making them feel…


Quickly edit large volumes of product photos to ensure consistency and professional quality. You can rely on us - we know your e-commerce needs.
We are specialized in image post processing for ecommerce product photos. From clipping path to advanced retouching, we deliver quick and affordable solutions maintaining the required quality.
Create polished, attention-grabbing visuals with our photo editing service. We never compromise on our quality, no matter how fast you need the delivery.
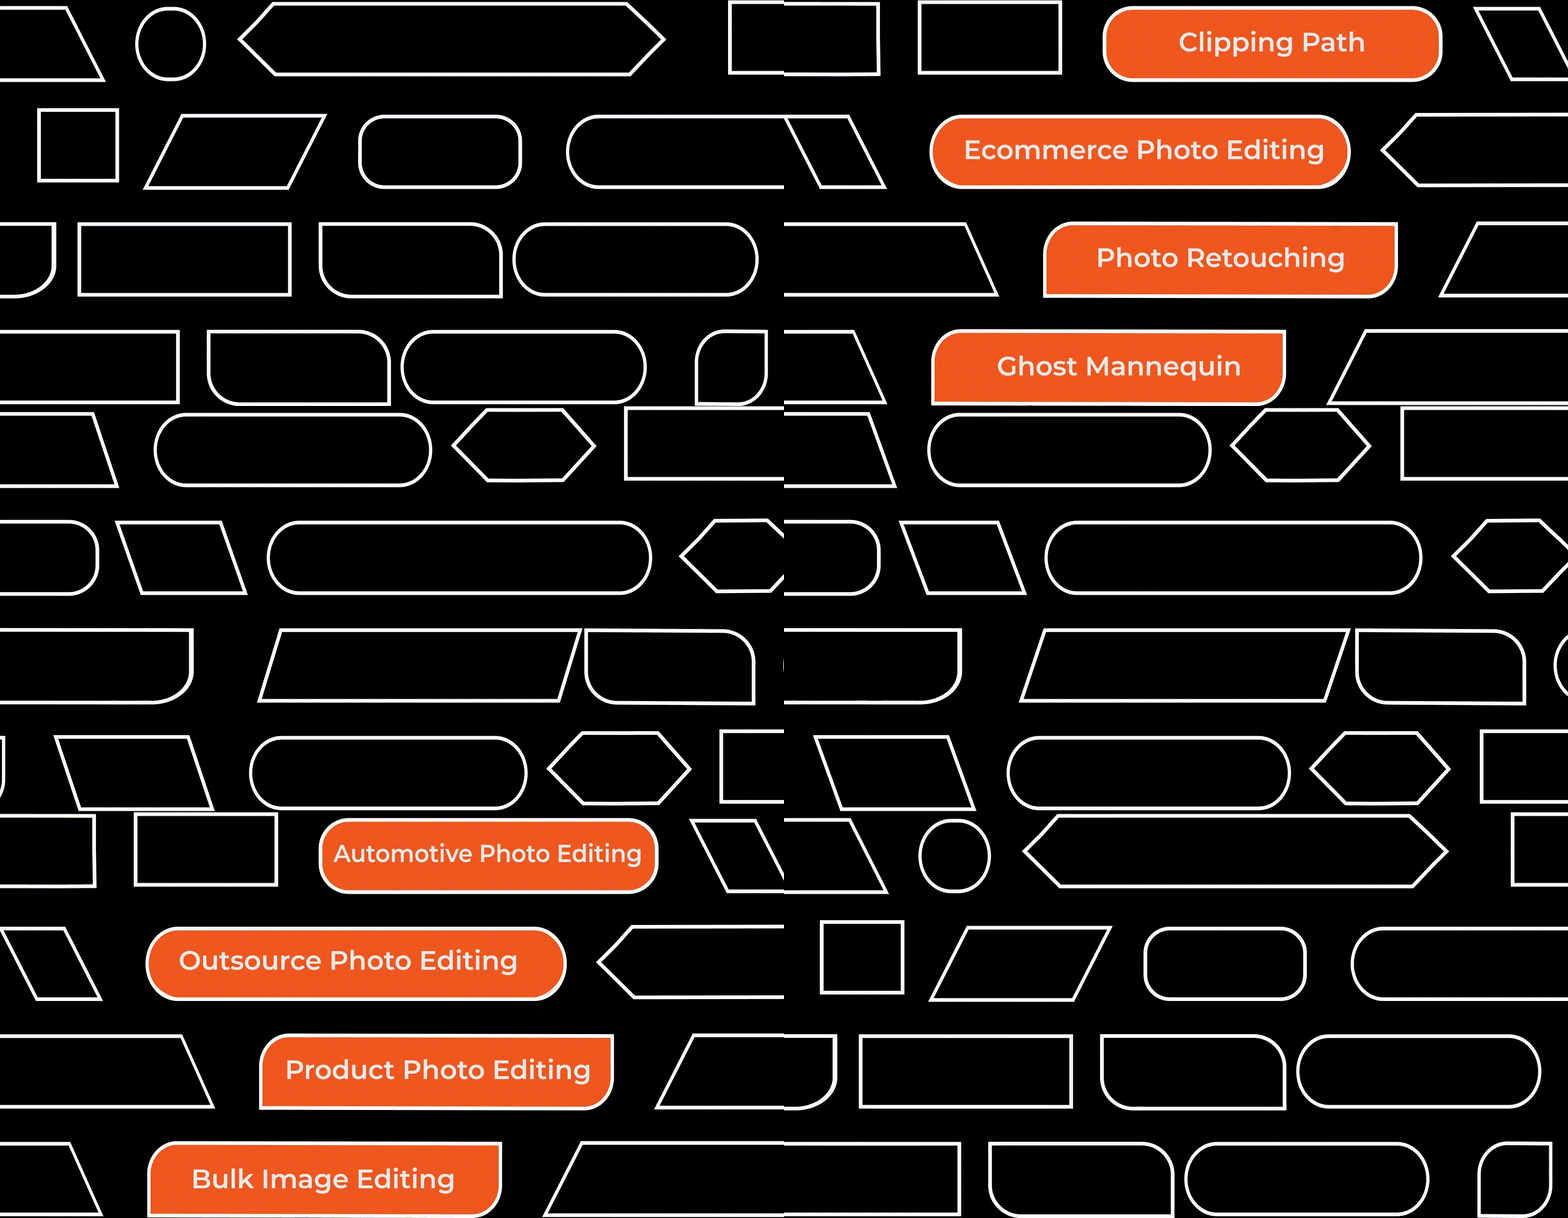
Our e-commerce product image editing services include Clipping Path, Ghost Mannequin, High-end Photo Retouching, and Background Removal. We can make your product images clear and ready for display.
Our Color Correction and Shadow Creation services will adjust your images to match the brand’s style. Try us and get attention in any marketplace.
We’re result driven. Be with
us for e-commerce success.
We’re specialists, not generalists. Whether you need simple Clipping Path, Shadow Creation, Background Removal, or more complex services like Ghost Mannequin, Color Correction, and Photo Retouching, we provide all the solutions you need. We ensure your product photos attract more customers and drive sales.
Our pricing start at US $0.99 / Per Image for ghost mannequin service.
Our pricing start at US $0.33 / Per Image for background removal.
At Retouching Zone, we provide professional product photo editing services to improve your product images and help build your brand in the e-commerce space.
Choosing our services ensures your product photos are polished for the best results. E-commerce photo editing is our core service that helps present your product professionally and drives more sales.


Retouching Zone offers specialized product photo editing solutions for photography studios, photographers, marketing agencies, online retailers, and e-commerce owners. We provide image editing solutions considering the challenges in product photography.
We focus on enhancing details, ensuring sharpness, accurate colors, and clear visuals. Whether it’s background removal, color correction, or other edits, our team makes sure your product images meet the standards for any platform.
We worked with leading e-commerce brands around the world to improve their product imagery, enhancing visual appeal and clarity. With specialized services like retouching and Ghost Mannequin, our clients enjoyed an increase in customer interaction and sales performance.
People love working with us
Retouching Zone has changed the way we think about product photos. We’re experiencing more customers than ever before after taking their photo retouching services.

Sr. Digital Media Specialist
We’ve been using Retouching Zone for our product photo editing, and the difference is amazing. Now our images look much better.

Product Photographer
I like Retouching Zone because they provide great value for money. They’ve taken our product photos to the next level. We’re seeing a lot more interest from customers.

Studio Manager

Photo Editing Industry News
Customers can’t touch products online like in-store. They have to rely on visuals, right? But how about making them feel…
T-Shirt Product Photography Ideas: Creative Tips & Tricks What if t-shirt product photography is trickier than you imagine? It is…
There are over 30 million e-commerce stores globally. The market size has become so big that it has already exceeded…
Free snacks and team outings are fun… but we prioritize your growth. We support our members in all aspects of their lives to succeed. At Retouching Zone, we are driven by creativity. We never forget our commitment to delivering top-notch quality visuals. All of our members take ownership and enjoy their journey with us.
Our people first approach and passion for innovation helped us become a top rated workplace in the photo editing industry.


Get Perfect Edits Now! Let’s Talk!

Retouching Zone is a premier photo editing service company, specializing in top-quality product photo editing and retouching services.
240 Dahill Rd, Brooklyn , NY
Priory Road, Flat 70 Priory Court, London E6 1PU
18/2, Ring Road, Mohammadpur, 1207 Dhaka