
After multiple sessions, you finally took a good shot. But you figured out the unwanted cluttered background is stealing the spotlight. How about using Affinity Photo for image background removal? This helpful app comes with many features. We set out to answer the question: how to use affinity photo remove background easily?
How the Affinity Photo Remove the Background in 7 Steps
Affinity Photo offers various types of selection tools to clear unwanted backgrounds. But the Selection Brush Tool is one of the best choices for simple and effective background removal. It provides better control to precisely select the subject area. Let’s start the step-by-step procedure.
Step_01: Import the Image
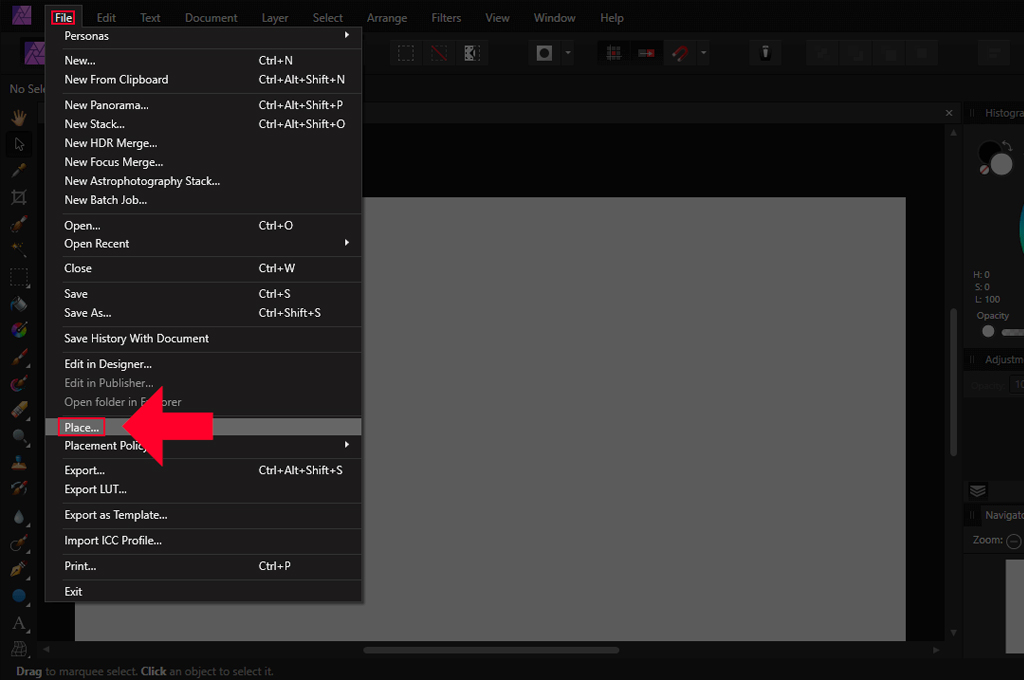
- Launch the software. Navigate to the menu bar panel and select File > Open.
- Select the image for background removal. Right-click on the picture and hit the Open button from the drop-down list.
- Or, visit your image folder, drag the image, and drop it onto the software.
Step_02: Unlock the Layer
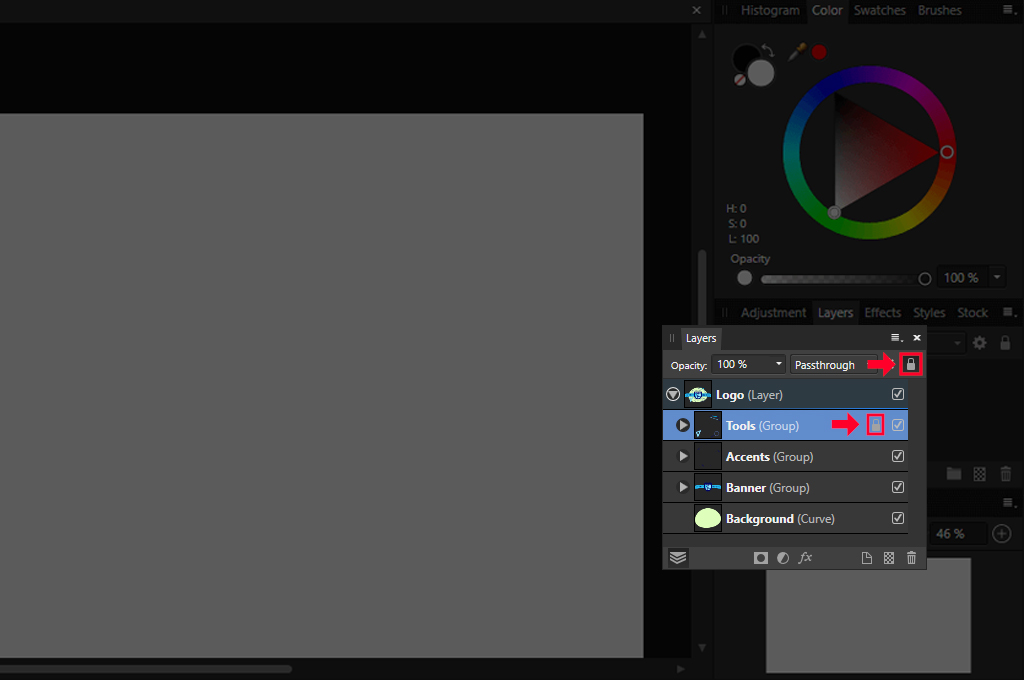
- The screen will show a new layer on the right side of the layer panel. Right-click on the layer and select the unlock option.
- Or directly tap on the lock icon next to the layer to make the layer editable.
Step_03: Choose Rasterize and Trim
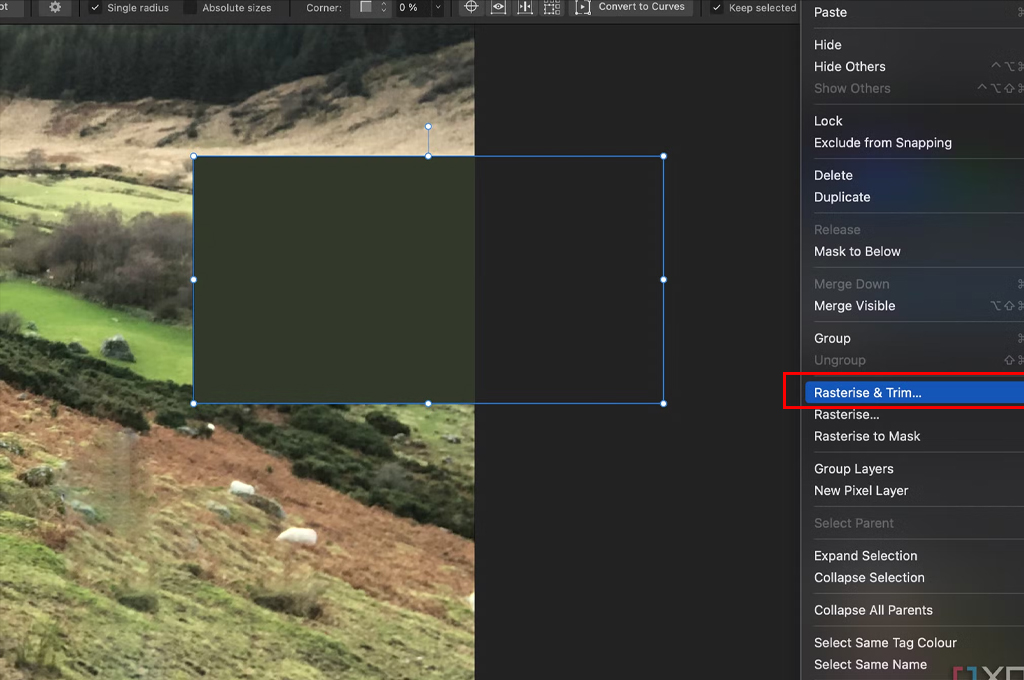
- The next step is permanently removing unnecessary parts of the document layer.
- Go to the layer panel again and right-click on the layer. Select the “Rasterize and Trim” option from the drop-down lists.
- This function allows you to transform a placed image layer or a vector layer into a pixel layer. You can erase all parts outside the noticeable canvas section.
You may also like to read… White Background Product Photography: A Complete Guide
Step_04: Use the Selection Brush Tool for Selection
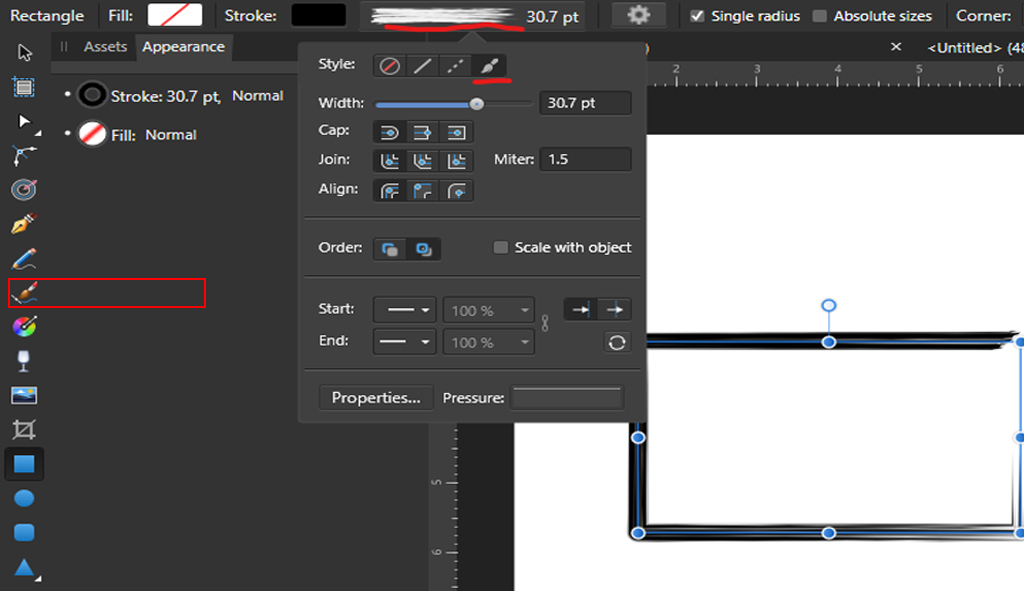
- Hover over the left-hand toolbar section and tap on the Selection Brush Tool.
- Drag the cursor up/down and adjust the hardness and left/right to increase/decrease the brush size.
- Tap on the context toolbar and set the brush opacity and flow settings based on your editing requirements.
- Use the brush tool to paint over the subject you want to isolate. Or brush over the background area you wish to erase.
- If there is a clear visual distinction between the subject and the background, you can brush over the background area.
Step_05: Refine the Selection
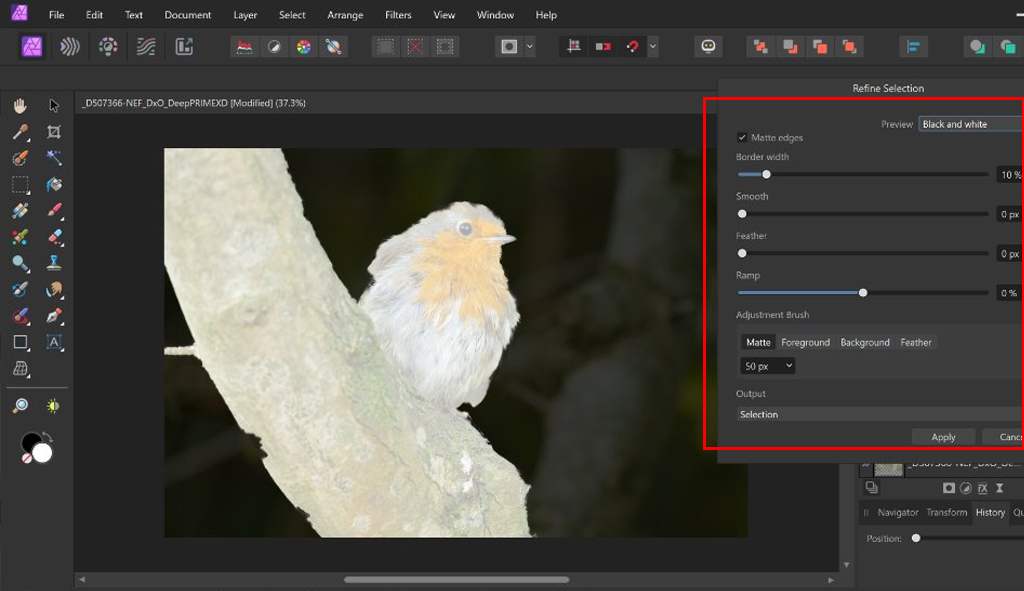
- Once you make a perfect selection of the object, head to the toolbar section at the top and select the “Refine Selection” option.
- A dialog box will pop up on the right side. There will be an overlay mode. The selected area will be visible, and the non-selected area will have red paint.
- The primary goal of using this feature is to make your selection as accurate as possible by adjusting the edges. It is mainly useful for complex subjects like fine details.
- Carefully brush over the areas to add or remove from the selection. Once you are satisfied with the result, hit the “Apply” icon.
You may also like to read… A Simple Tutorial on How to Extend a Background in Photoshop CC
Step_06: Remove the Background
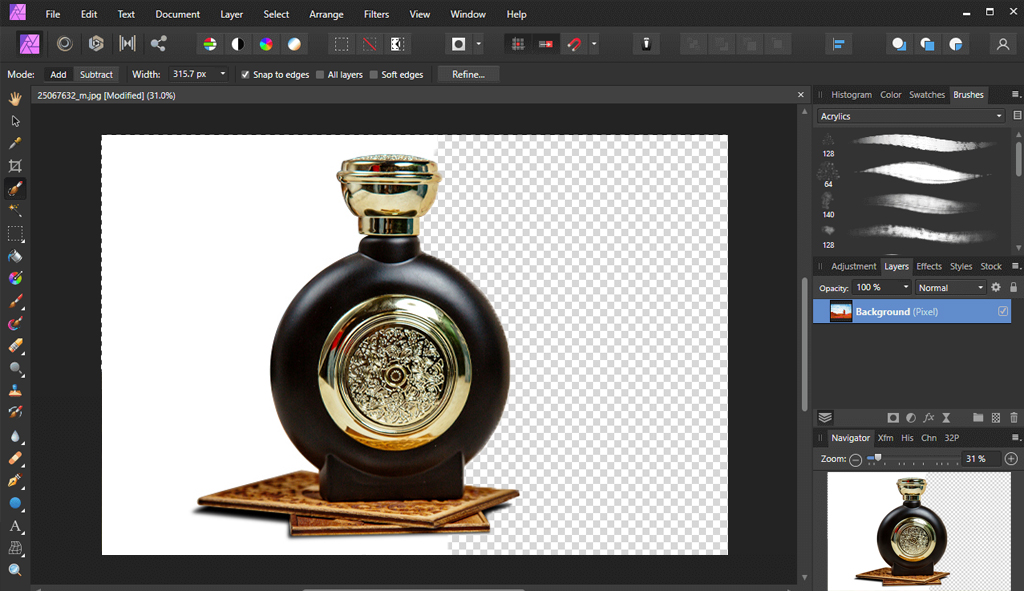
- The selection area will be visible on the screen. Press the “Delete” button from your keyboard.
- Now, only the main subject will be displayed. It will have a transparent background. You can add any backdrop based on your preferences and requirements.
- Finally, select File> Export and pick a specific image file format.
Similar Reads for You
-
4 Best Photo Background Removal Apps for Mac for Beginners
-
Top Industries that Rely on Professional Photo Retouching
-
Photoshop vs. Lightroom: Best Choice for Photo Editing
Conclusion
Affinity Photo is a good app with many helpful features and tools for editing purposes. We have outlined how to remove a background in Affinity Photo using the Selection Brush Tool in 7 steps. Make sure to zoom in on the subject appropriately to ensure precise selection and background removal. Try several times to achieve a perfect result.