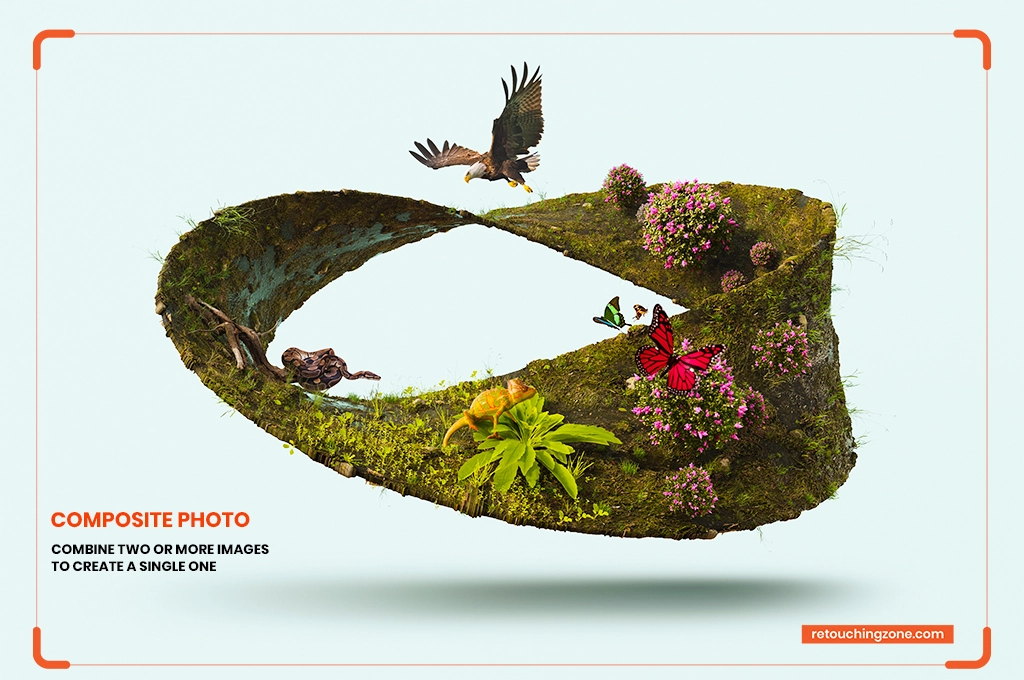
When you combine two or more images to create a single one, it is called a photo composite. We see such compelling visuals in website ads, magazines, marketing campaigns, and social platforms.
— A solitary elephant atop a sand dune under a glowing sunset.
— A baby child sleeping inside a cozy matchbox bed.
— A warrior walking toward sunset through ancient cathedral ruins.
All of these are photo composite examples. Some may look real, some confusing, and others unreal. Professional photo editors use different types of image editing and design software to create composite photos. Beginners, advanced image editors, and production experts use these tools to develop composite graphics.
This article covers what is a composite photo and how to create one.
What is a Photo Composite?
The simple composite photo definition is: a composite image is a combination of more than one image source. The process of creating a composite visual may take multiple hours to several days, depending on the visual complexity.
However, the invention of modern digital photography eases the process a lot. Photographers can now effortlessly blend multiple elements. Plus, they have better control over lighting, color, and details. Photo manipulation artists utilize various advanced features and tools in the latest software and apps to make more creative and detailed photo composites.
Why Use Composite Photos?
If you are a hobbyist, making composite graphics is fun and exciting. You may love spending multiple hours transforming your imagination into reality through composite visuals.
However, composite images are entirely different for professionals. Business owners may use such photos as a powerful promotional and marketing tool. Apart from these, we have seen experts use composite images for cityscape and landscape visuals. It helps them blend different elements, like the stars, the moon, mountains, etc., to produce a better visual.
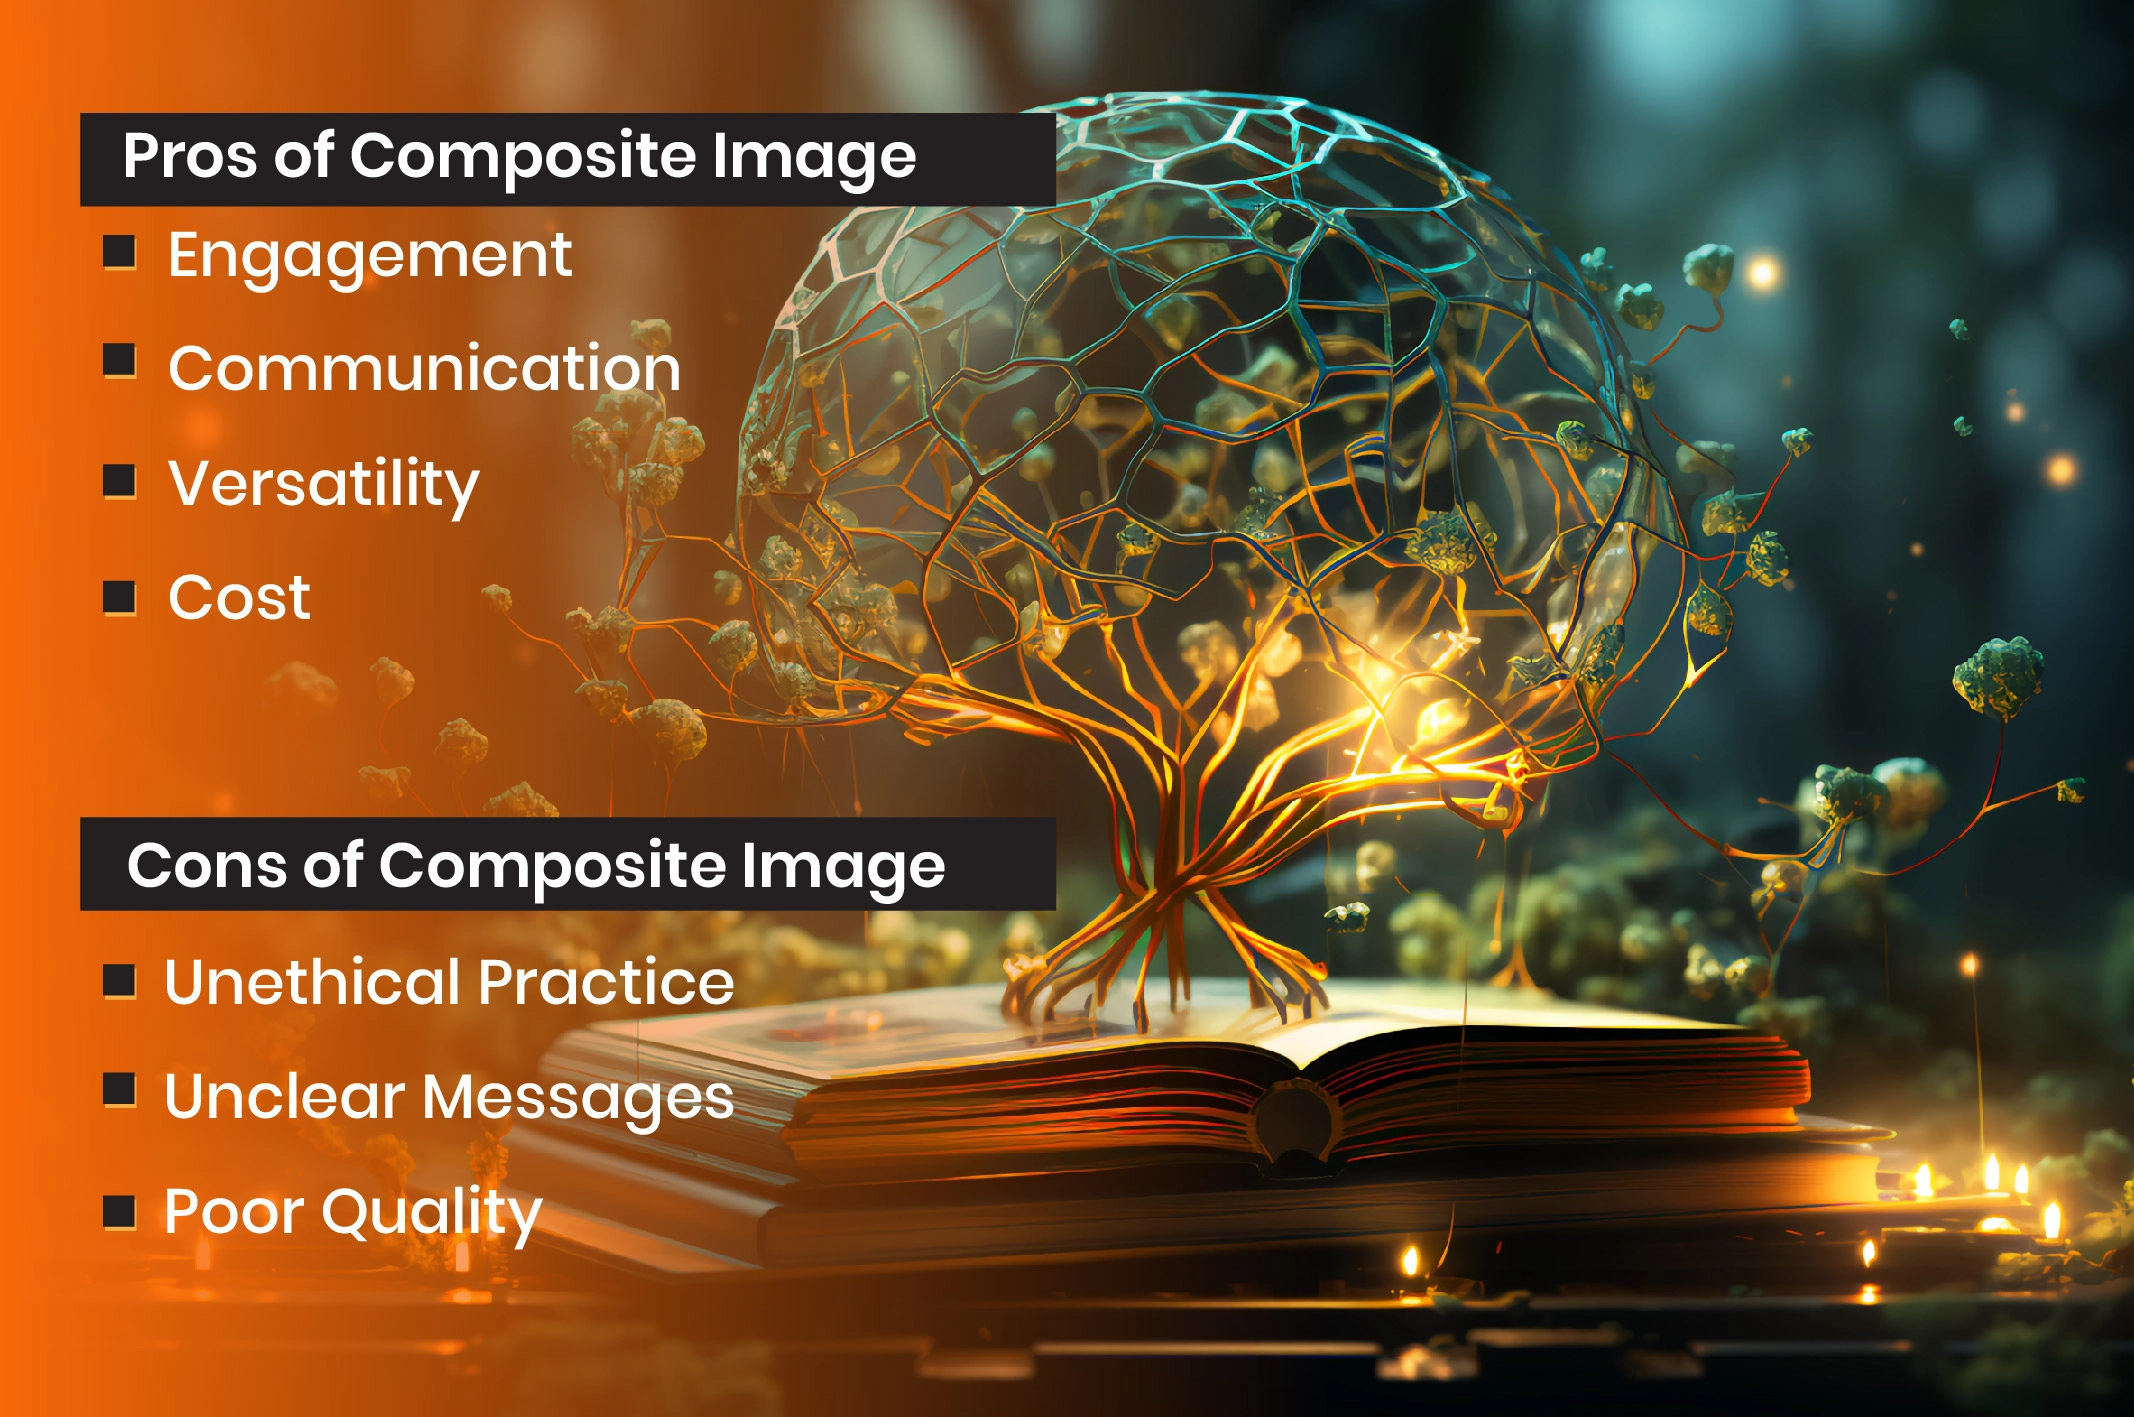
Benefits of Composite Image
Are you thinking about how composite visuals can be helpful in our lives? Are they giving any valuable insights? Let’s understand how these attractive visuals can be beneficial in different ways.
Engagement
Composite graphics are visually striking to attract viewers at first attempt. The target audience can’t resist clicking on the images. Experts collect various graphical elements from different sources and combine them together. The final images look real or almost real. The main purpose of composite visuals is to express an idea, emotion, or location.
Communication
A composite image can say more than a thousand words. It is an effective way to convey a special message to the target audience. That’s why many businesses and brands use this visual technique to promote their products or services.
Versatility
Composite visuals are highly versatile and can be used on different platforms. Artists manipulate and modify these graphics in various creative ways to suit specific needs. You can use them in website ads, magazines, marketing campaigns, and social platforms.
Cost
You don’t have to spend any money other than on the photo editing software and tools. Many businesses and brands reach out to marketing agencies and photo editing companies to get composite images.
Cons of Composite Image
You have already learned what composite pictures are and why people love them so much. But they may sometimes cause some negative attributes in our lives.
Unethical Practice
It is unethical to use other images unless you are given permission. This will cause copyright violations as you are breaking the law. However, you can use them if they are available in any public resource area.
Unclear Messages
Beginners or unconscious editors may deliver blunt messages when merging two or more images together. Be cautious when you create composite images. Your audience may feel confused if they receive two different messages from a single visual.
Poor Quality
Don’t just upload any random composite images on any platform. Practice and develop the technique of making professional-looking and high-quality composite graphics. Poor-quality visuals will put a negative impression on your target audience.
Different Styles in Composite Photography
You have already learned what is a composite in photography. Composite images are available in various styles. Each one evokes a unique perspective and context. Let’s learn about them one by one.
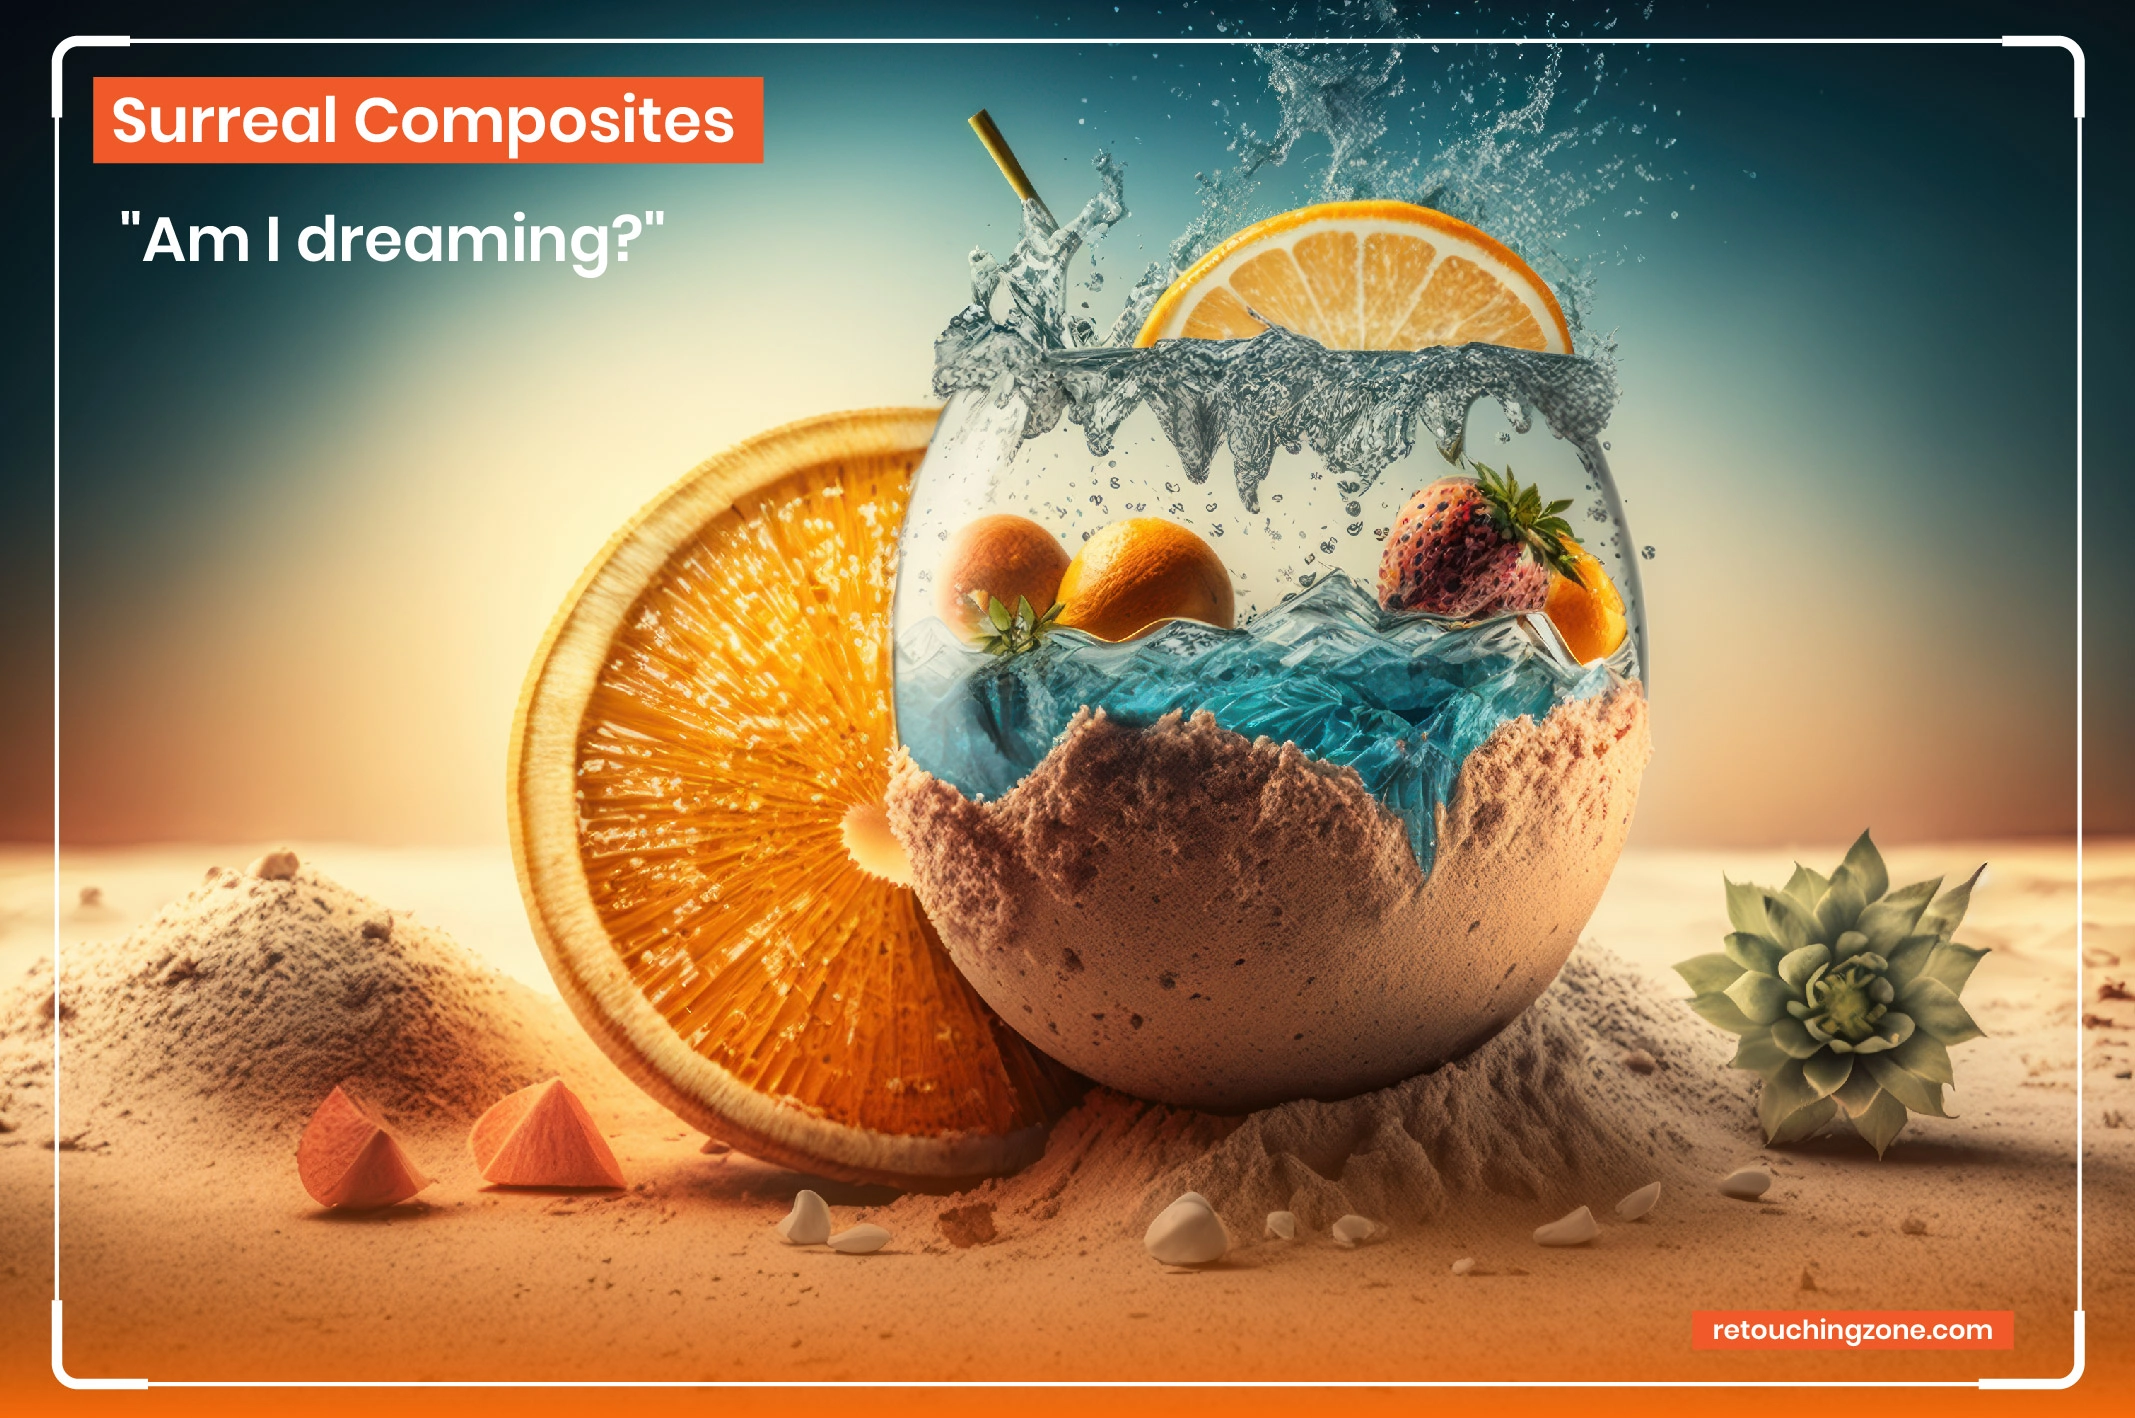
01. Surreal Composites
- This type of composite enables viewers to think like, “Am I dreaming?”. Artists use different powerful techniques to distort reality and evoke imaginative juxtapositions of imagery.
- These digitally manipulated graphics are presented in unusual ways with incongruous elements. Artists may apply the rules of physics to add gravity, light behavior, or shadow consistency.
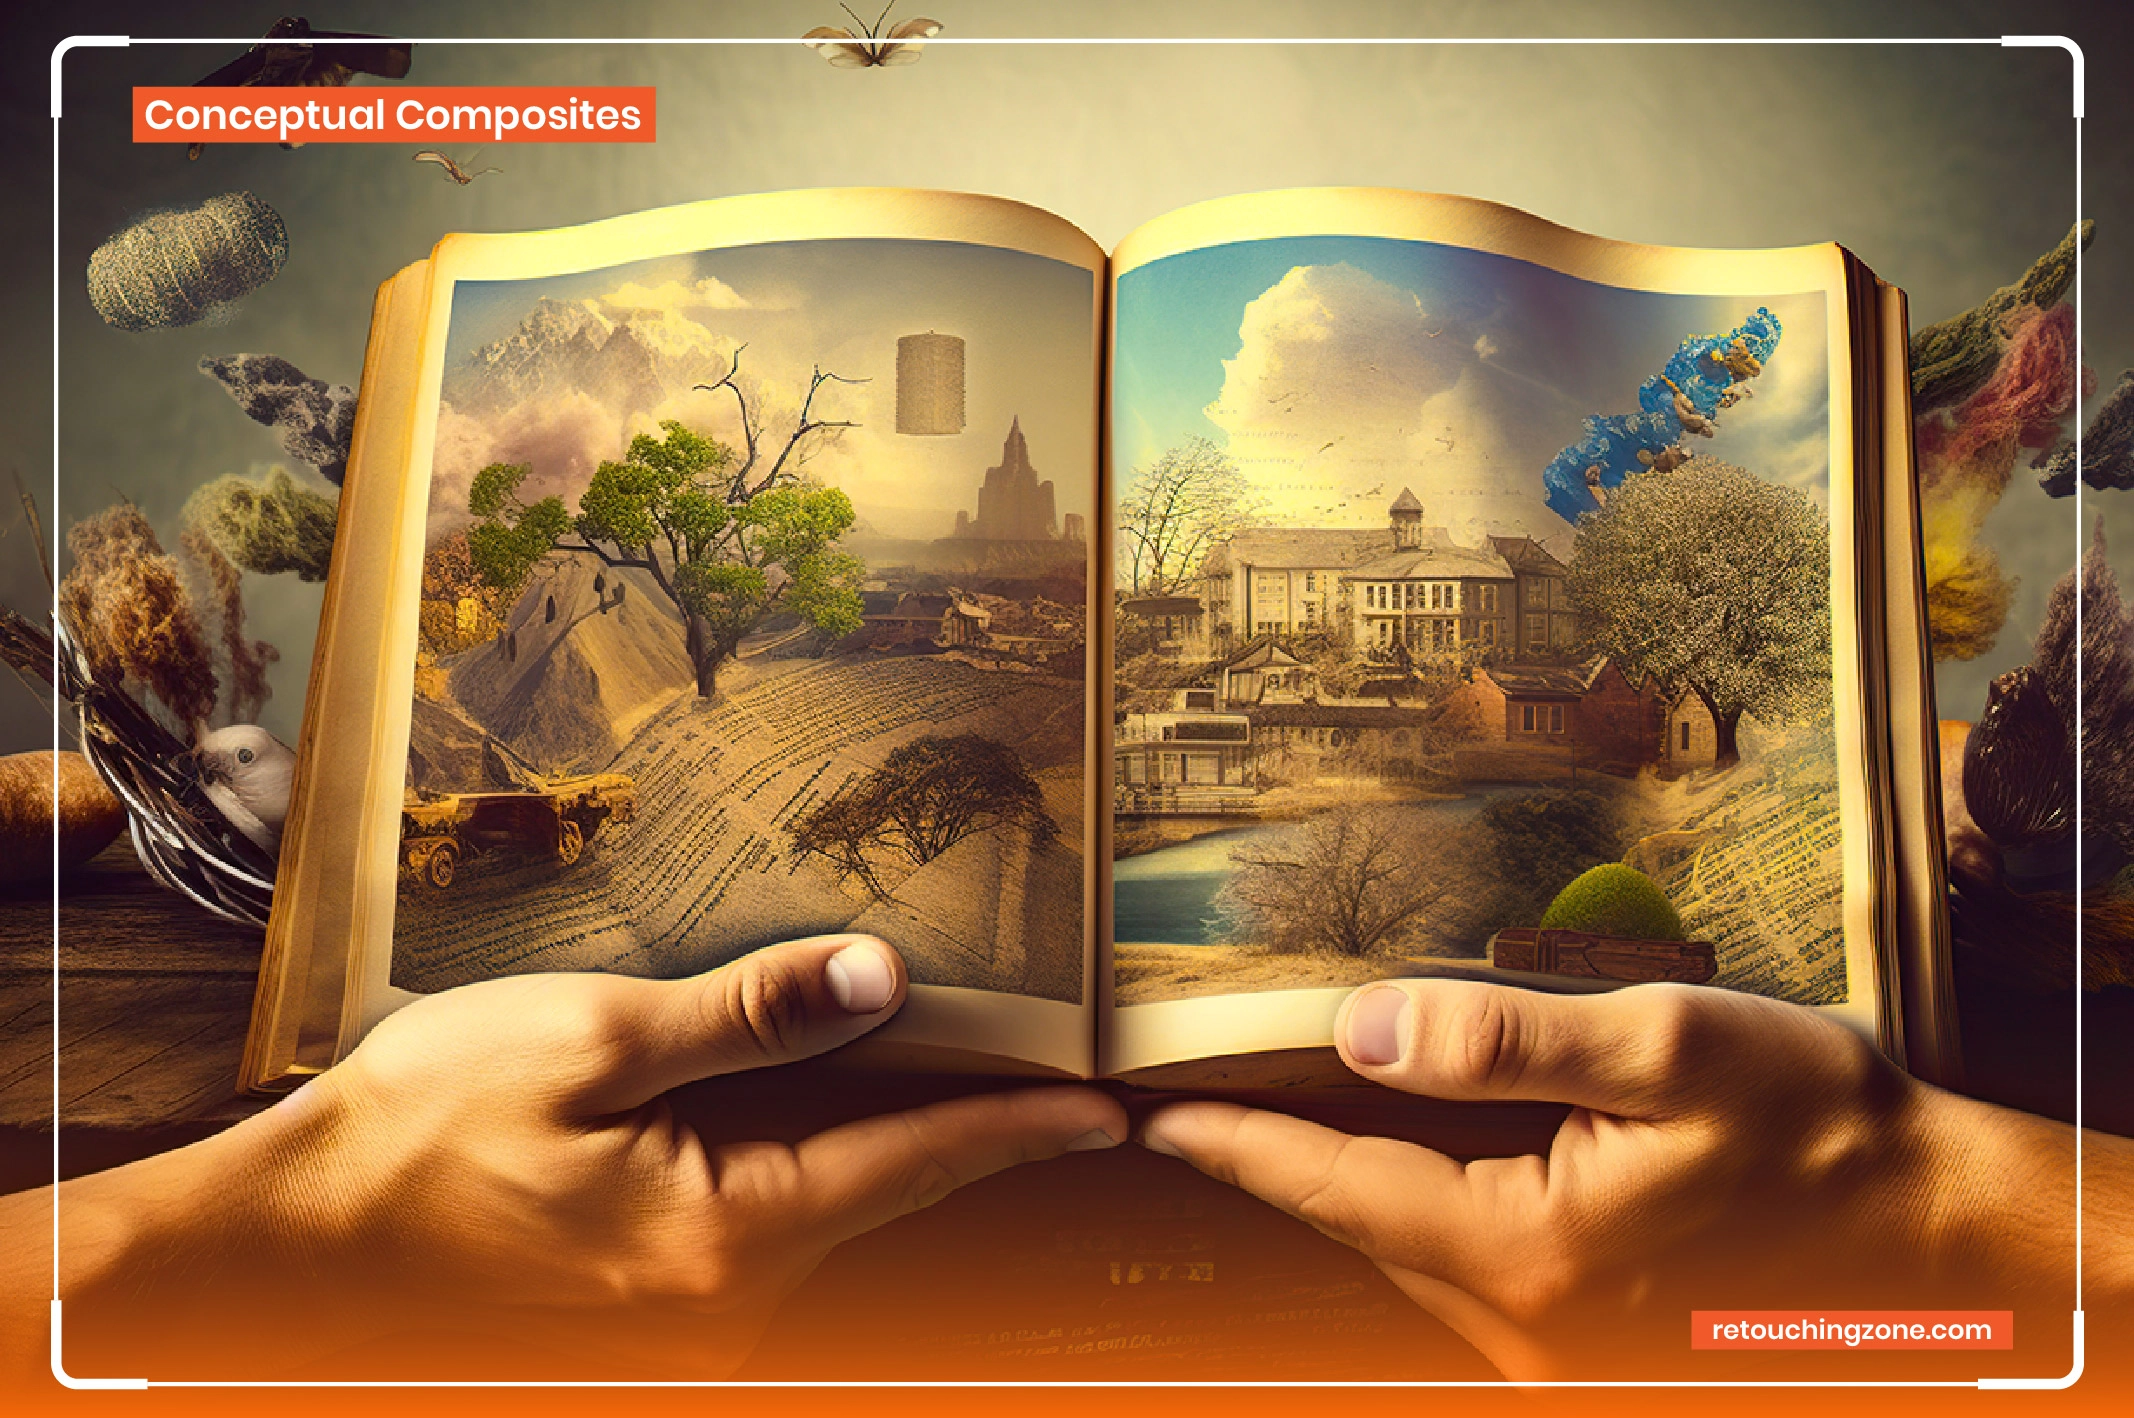
02. Conceptual Composites
- In conceptual composites, an artist shows a complex idea or phenomenon by merging different existing concepts to make a new one.
- This type of composite visual induces viewers to think seriously about the context. The target audience tries to align them with their actions, choices, and goals. They can view it from a personal or social perspective.
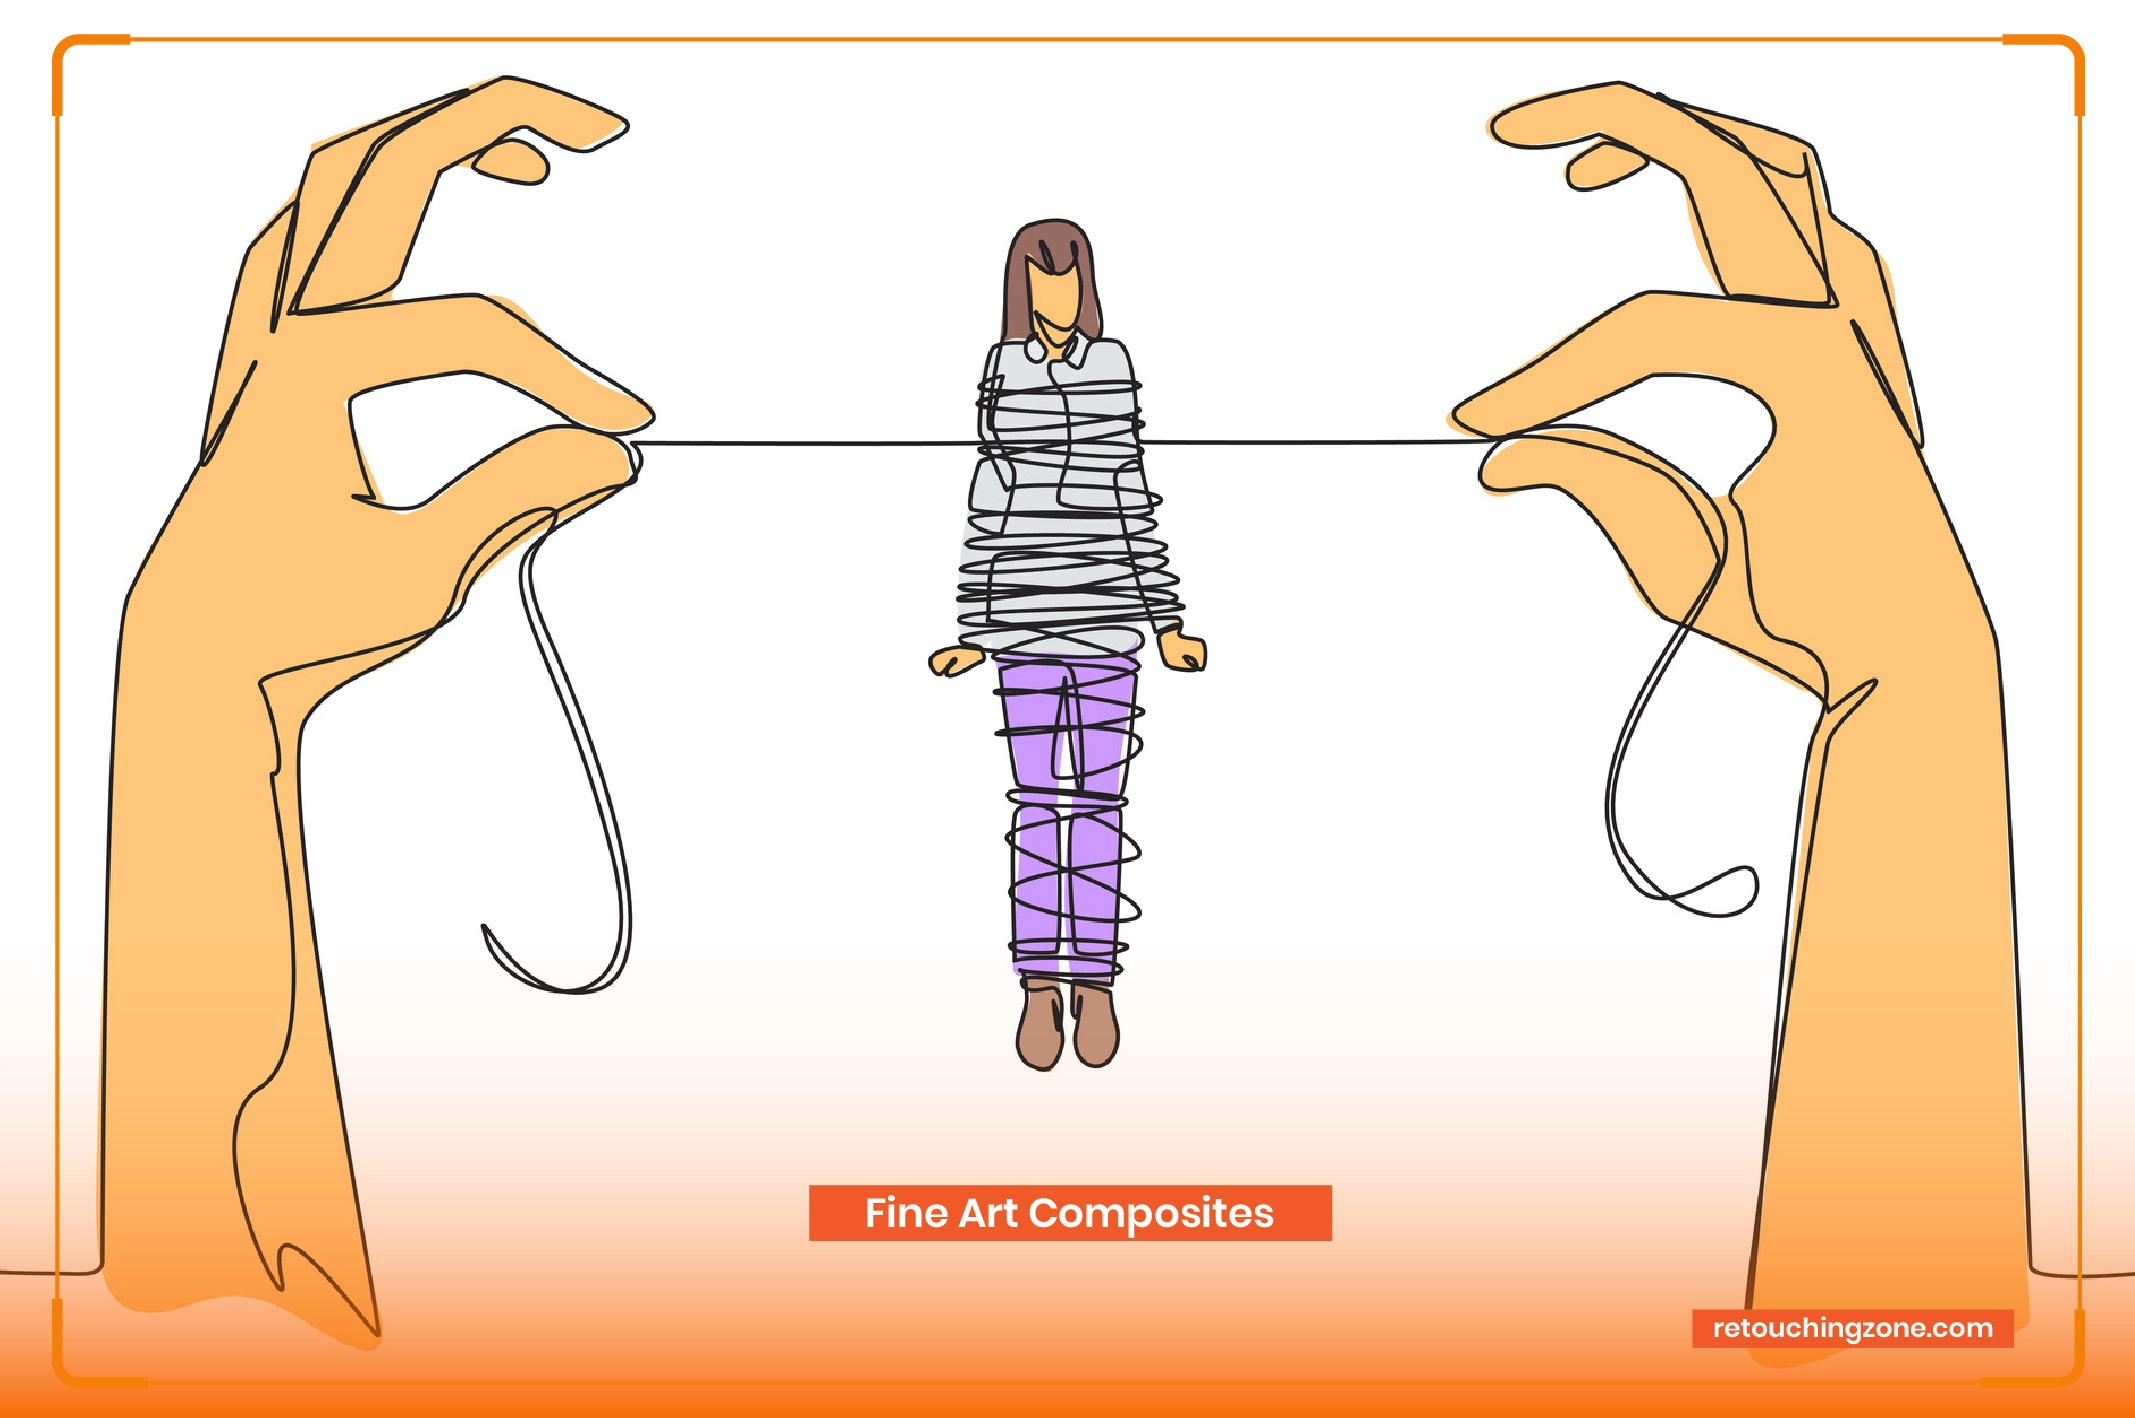
03. Fine Art Composites
- In fine art composites, artists take various visual elements from different places and times and combine them into one final composition.
- They mainly look like sculptures or paintings. Their depth, form, and color are manipulated to add a cohesive narrative or evoke specific feelings or moods.

04. Fantasy Composites
- In fantasy composites, you try to portray your imagination into reality. You can explore boundless creativity. Your main objective is to create a fantasy scene by blending multiple image elements together.
- In this composite style, you may need to adjust the color, add effects, and integrate the photos. These whimsical-looking images contain a good proportion of unnatural elements to emphasize fantastical elements.
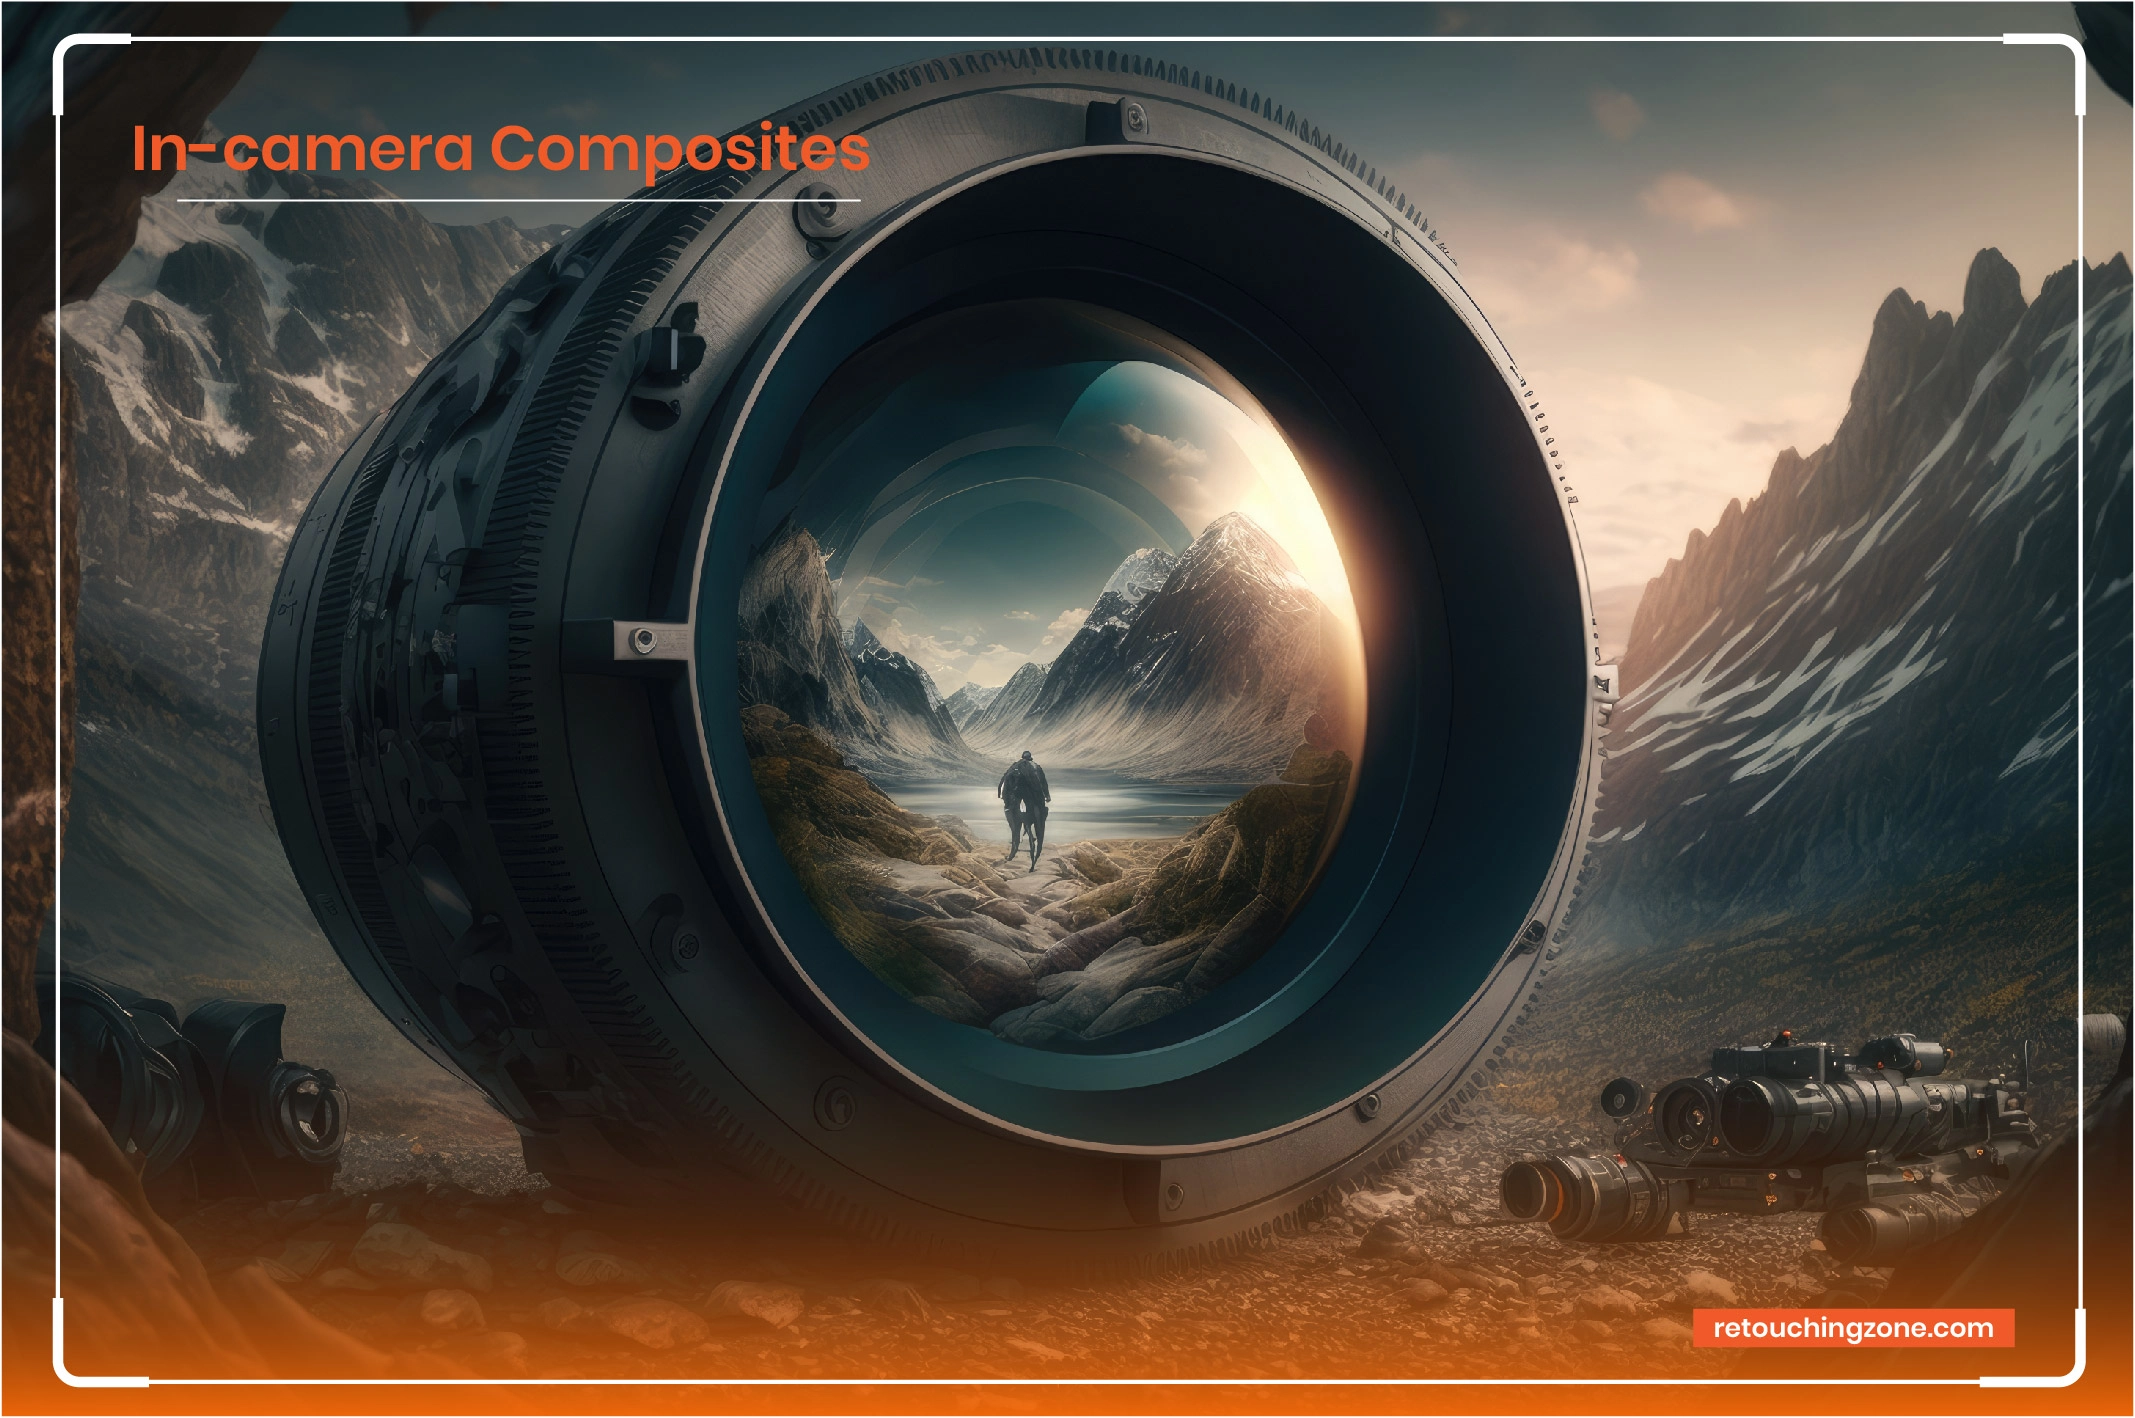
05. In-camera Composites
- Unlike other composites, in-camera composites only have a single captured photograph. These multi-dimensional images have complex visual narratives to evoke subconscious associations and influence viewers to question reality, identity, and memory.
- Photographers use powerful techniques to add various visual elements into a single frame. They need to place the camera in the perfect location and set up the correct settings to include all crucial elements in one frame. It may take a long time to take a perfect shot.
How To Create a Composite Image?
Creating composite images takes lots of planning for pre-production and post-production. The following are the steps to follow to make composite visuals.
You may also like to read… How to Outsource Product Photo Editing for E-commerce
Step 01: Prepare the Equipment
- When it comes to composite photography, having the right equipment is key. Regardless of what type of composite photos you want to capture, prepare your gear.
- Set up the camera settings in RAW image format to get as much digital information as possible. It makes the post-production task easier.
- Use a good-quality tripod to explore various angles that you can’t reach while holding the camera. For landscape and cityscape photography, ball-head tripods are the best choice.
Step 02: Shoot Composite Images
- The next job is selecting the perfect timing for composite photography. Make sure all the essential elements are presented during the photo session. It saves both photography and editing time.
- You may want to set up specific stories, moods, colors, props, and spots. Note down all these elements and capture everything in your large main image frame.
Step 03: Get Your Image Ready
- You may think of collecting photos while combining the images one by one. It may lead to alignment errors and increase time-consuming rework.
- Create a plan ahead of time and keep your image sources ready in your hands. This will streamline your editing task.

Step 04: Open the Image Sources
- Create a specific main frame on your Adobe Photoshop to add all the necessary elements to the frame.
- Open all the necessary image elements in different tabs on your Adobe Photoshop. Add a new layer for each photo element to manipulate them individually.
- One of the best tools for composite images is Layer Mask. It gives you precise control to selectively hide or reveal parts of a layer. You can also use the Lasso tool to modify selection options easily. It makes your editing task faster and smarter.
- Free Transformation Tool is another powerful tool for applying transformations like resize, reshape, rotate, and move. You can bend these elements and achieve more compelling compositions.
Step 05: Remove Distracting Elements
- This session is called a “Cleaning” session. Your edited image may contain unnecessary elements that don’t add any value to the final one. Or they might not portray the exact story you want to tell.
- Use the Clone Stamp tool to copy the same detail from one section of a photo to another section. Another is the Magic Wand tool, which adjusts the color and tone in similar areas.
5 Essential Photo Composition Tips for Outstanding Composite Photography
Taking perfect composite shots is not simple, as minor mismatches may shatter the illusion. Let’s learn how to make composite images better.
01. Visualize
The first important job in creating stunning composite images is visualizing what you want to achieve and how the final result will look.
The concept should be clear. Follow brainstorming techniques to produce creative ideas for making enticing composite visuals.
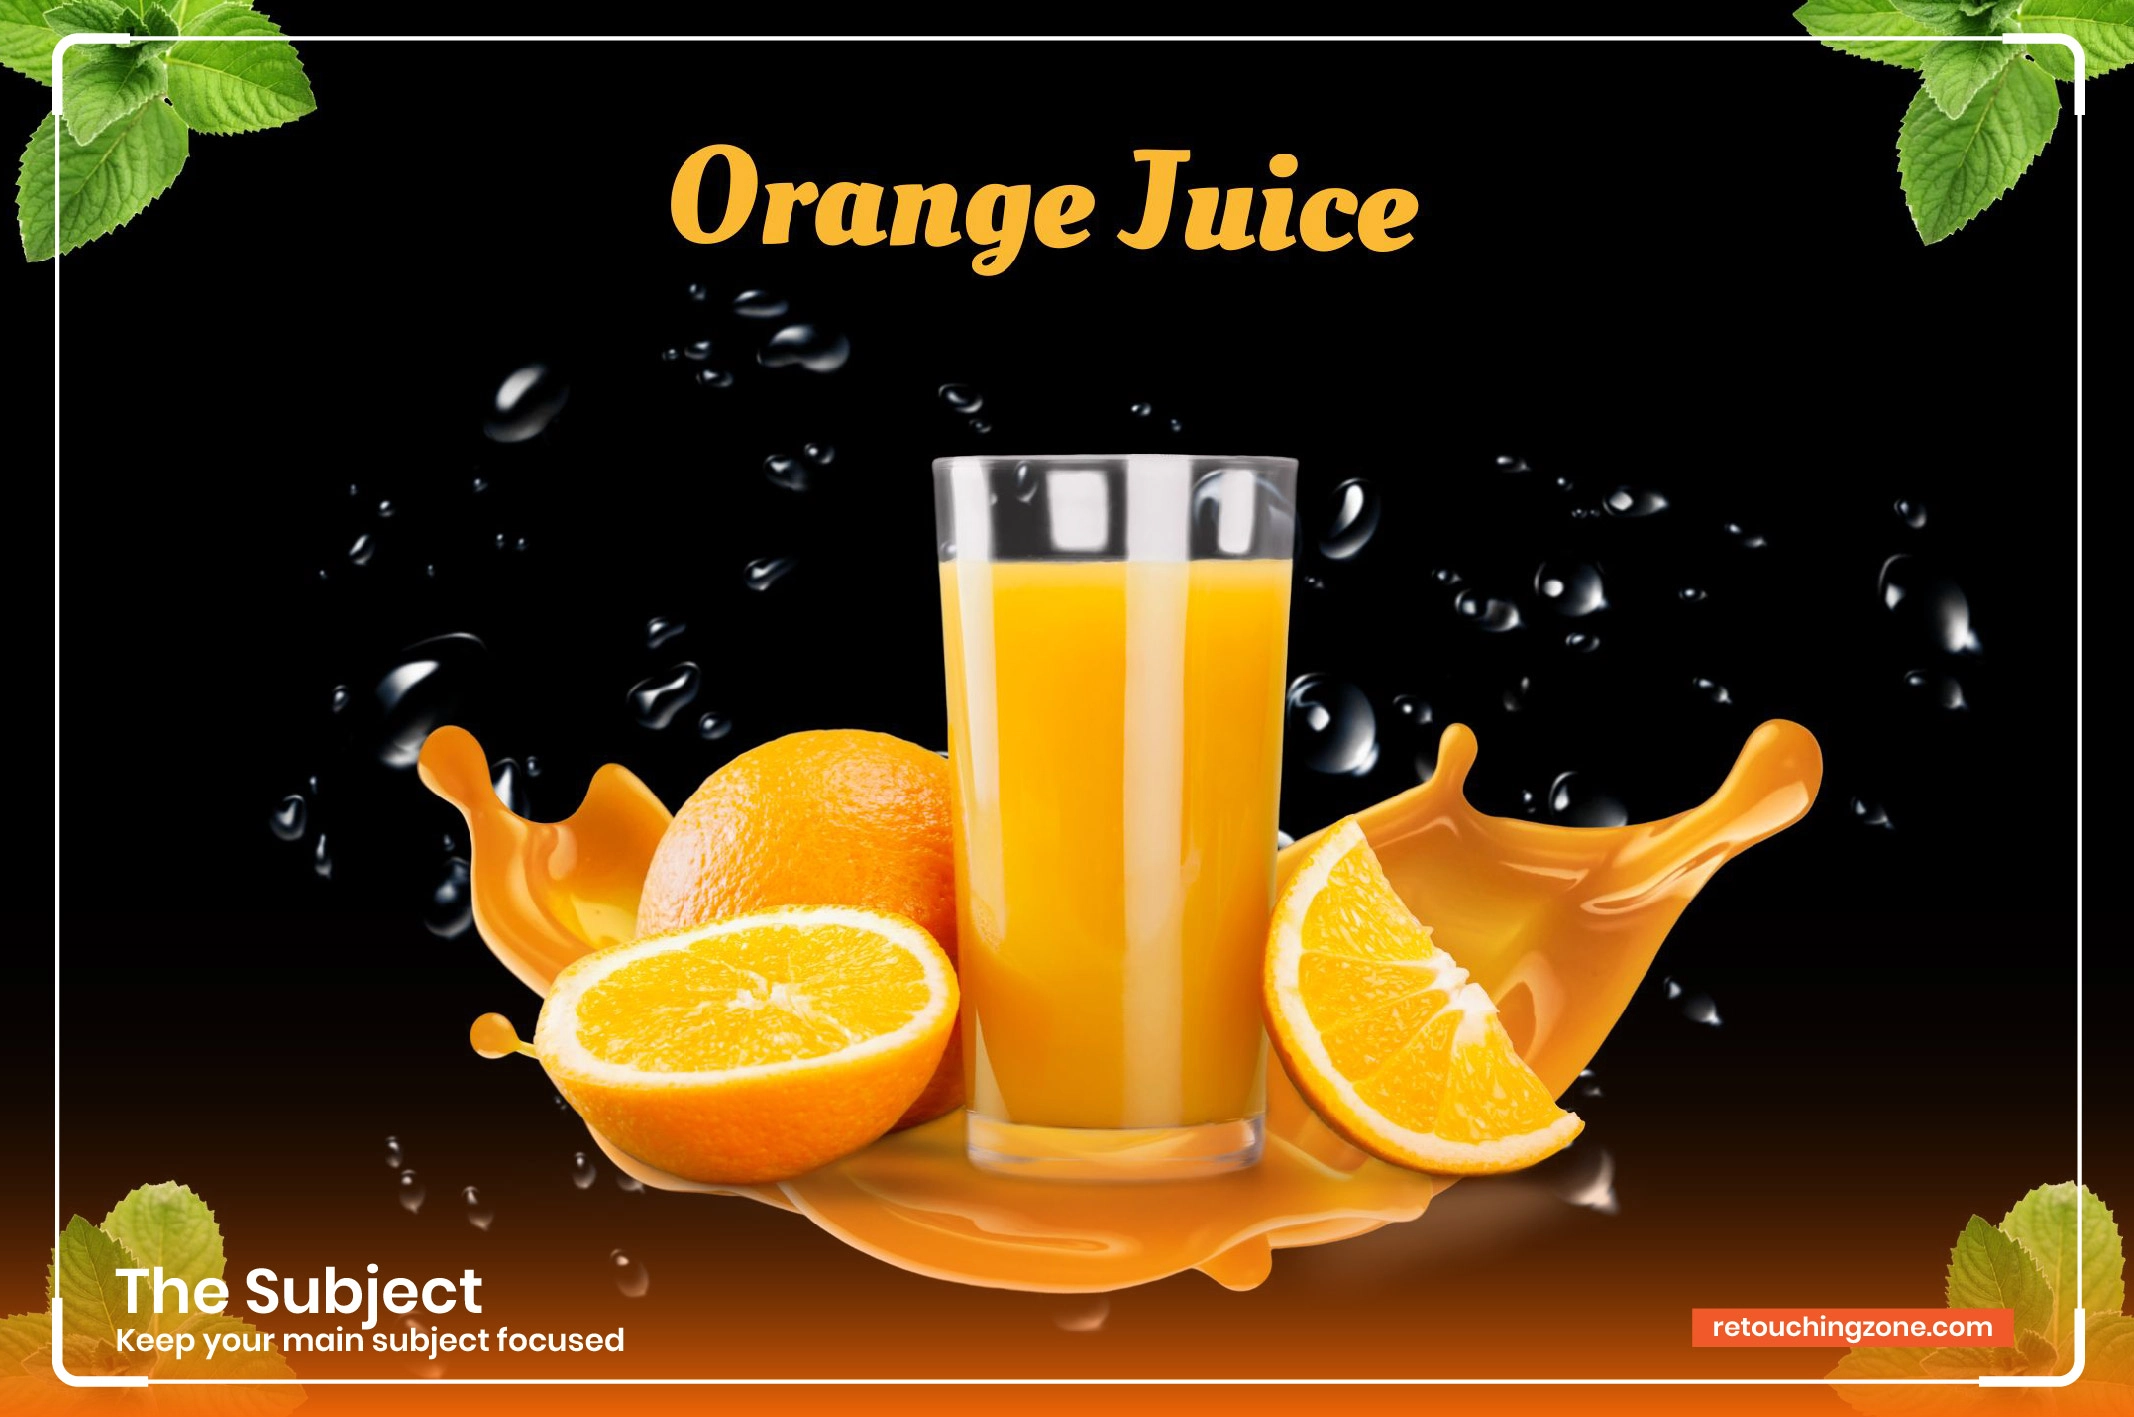
02. The Subject
Keep your main subject focused. Remember your ultimate composite goal from start to finish.
Maintain a correct position and angle to represent the exact perspective and context of the subject. A wrong stance may distort the message you are aiming to convey.
Research how to position your subject’s pose, placement, and angle to communicate a specific narrative visually.
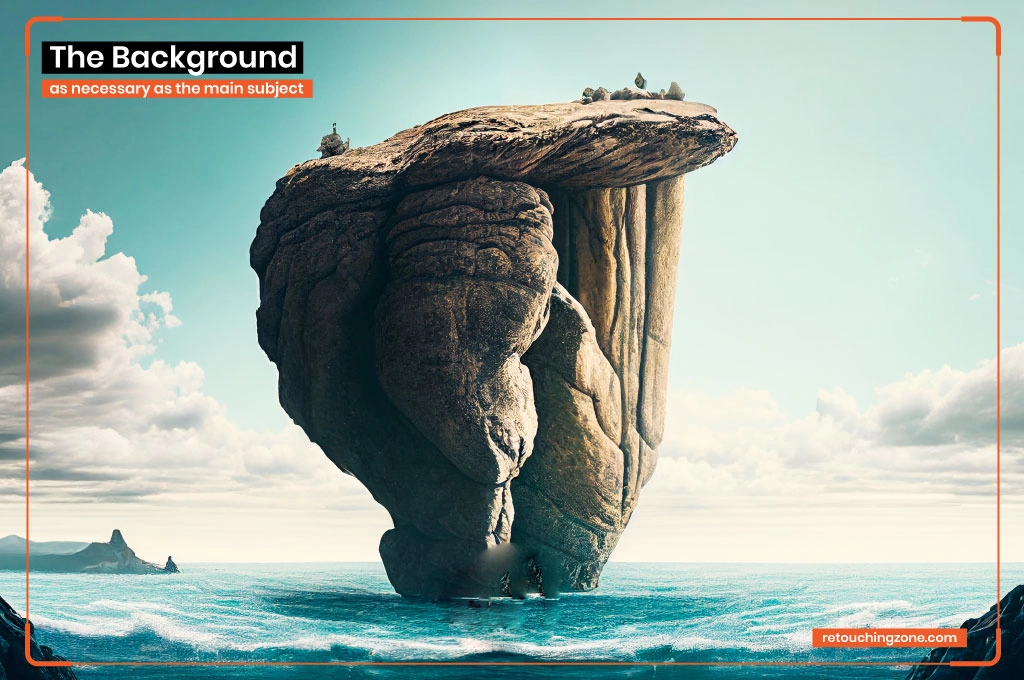
03. The Background
The background of a composite image should be as necessary as the main subject. Be extremely choosy when selecting a backdrop.
It must align with the primary subject while creating a perfect atmosphere. A well-selected background will set the right tone and context for the composite graphics.
04. Stability
Unwanted shaking during composite photography can ruin the image. It is also tricky to maintain the exact framing for all composite photos.
The best solution is to use a high-quality tripod to maintain consistent framing, angle, and exposure across all photos.
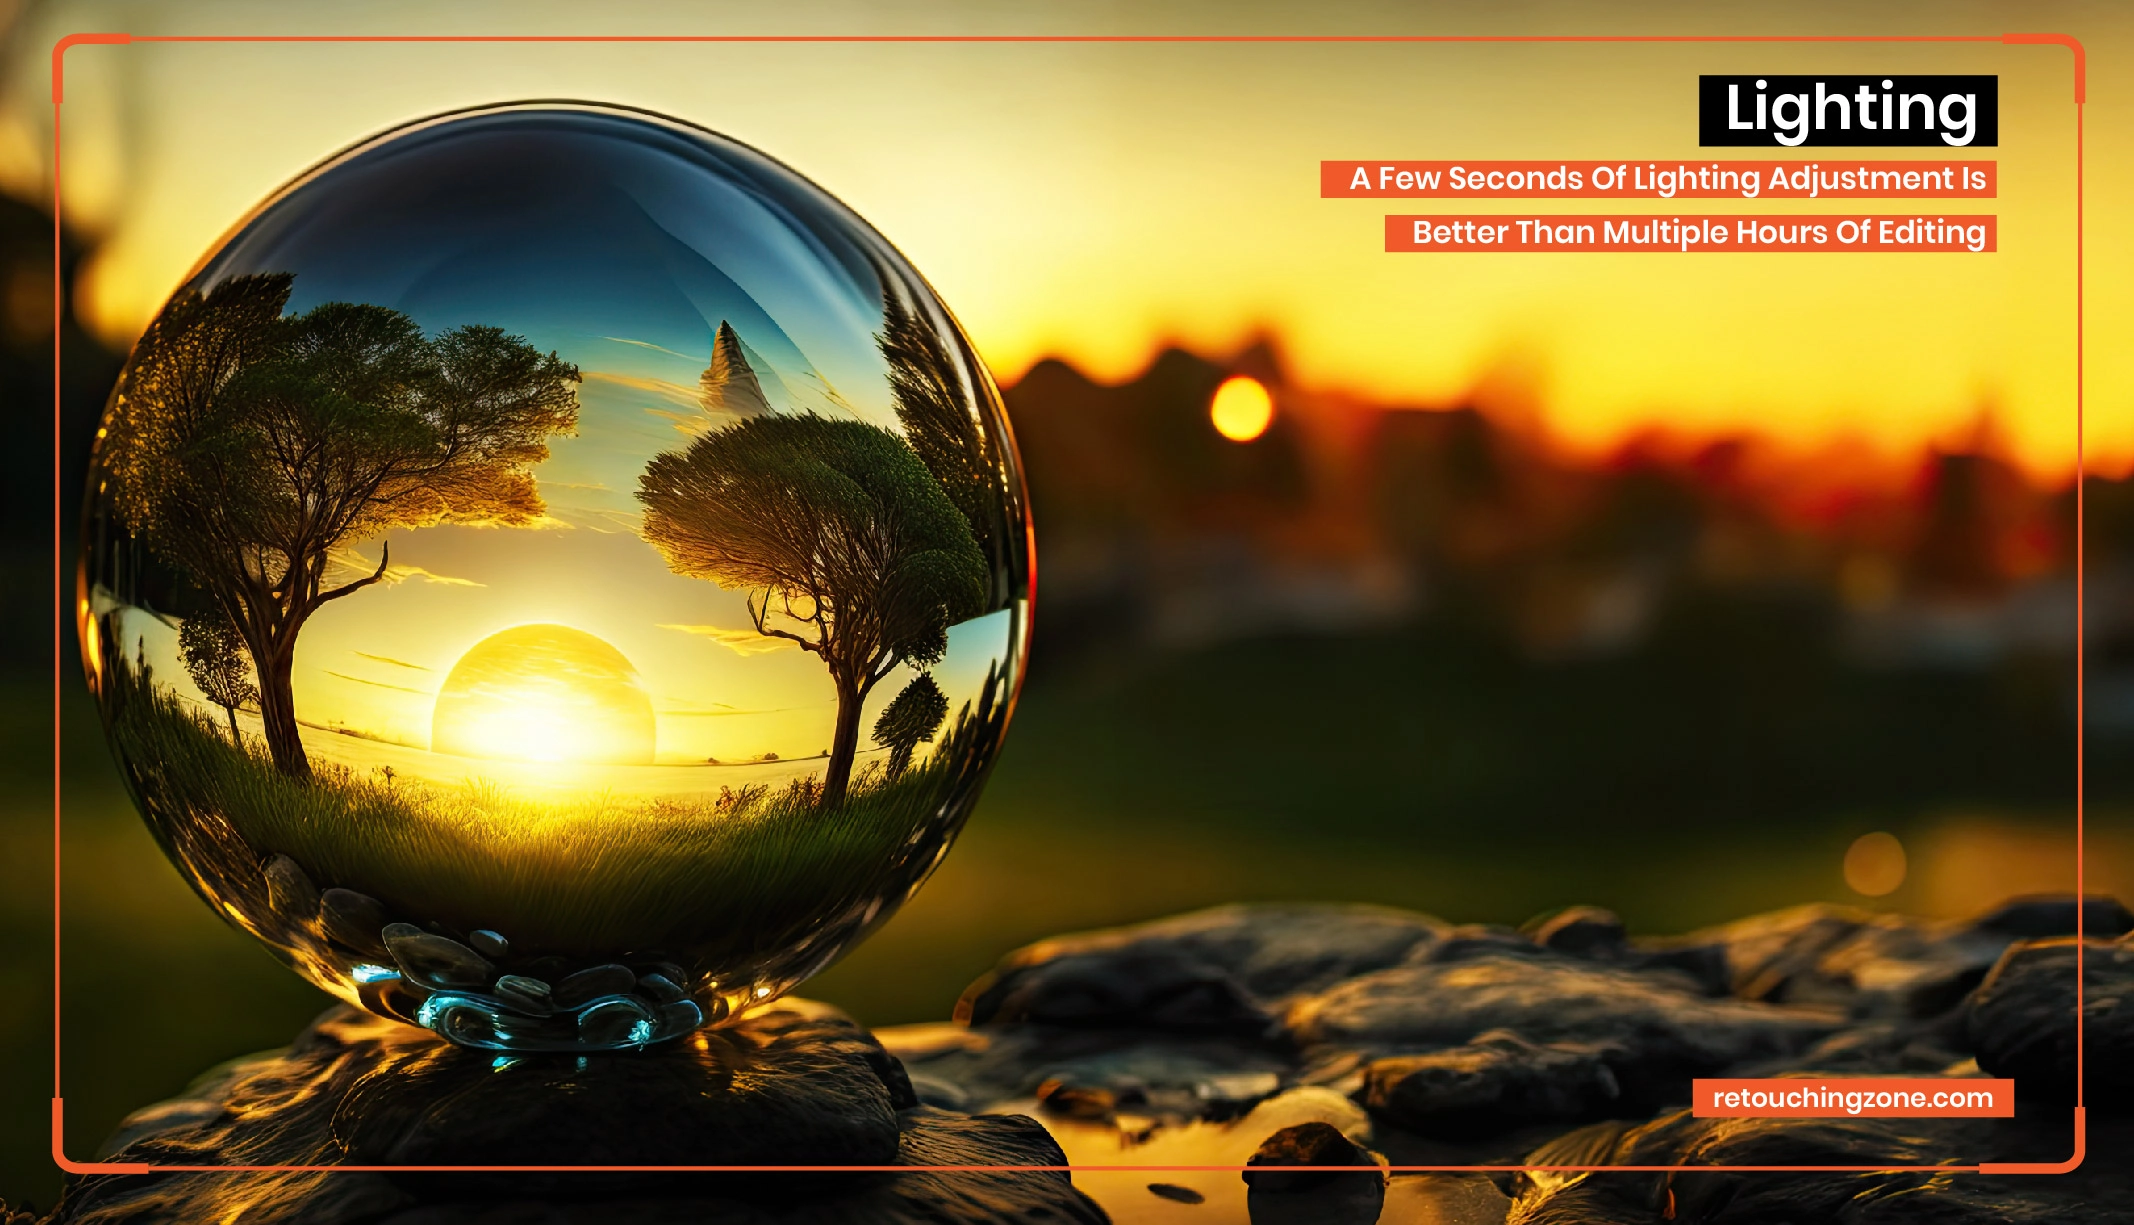
05. Lighting
Using the correct lighting setup with well-balanced exposure can take your composite photography to a new height.
Practice repositioning your lighting setup to make it as perfect as possible. Remember, a few seconds of adjustment is better than multiple hours of editing.
Focus on the bright and dark areas of your composite photoshoot. Maintaining a proper balance prevents loss of detail and directs the viewer’s attention. Don’t overlook creating perfect shadows as they render depth and set up the right mood.
Common Challenges in Composite Photography and How to Overcome Them
Composite photography is not as easy as others. But when you know the common areas to make mistakes and how to tackle them, it helps create top-notch visuals.
01. Tackling Inconsistent Lighting and Shadows
Problem: Inconsistent lighting leads to uneven shadows. It distorts the main subject’s appearance and washes out specific areas of the picture.
Solution: Each element in a composite image needs consistent lighting. If natural lighting is limited or unpredictable, use artificial lighting for better control and consistency over lighting and shadows.
During the editing session, use the Brightness/Contrast adjustment tool to change the photo’s tonal range. The dodge and burn tools are also handy for lightening or darkening particular areas.
02. Similar Resolution and Sharpness
Problem: It is challenging to merge two different-resolution images with different levels of sharpness together. They may lack smoothness and look disordered.
Solution: Choose better-resolution photos for any purpose. Use the Sharpen tool or the Smart Sharpen filter to sharpen blurry images. If a specific area has a shallow depth of field, use the lens blur filter to simulate it and keep the subject in focus.
03. Dealing with Unnatural Edges and Seams
Problem: When your composite images have hard edges, they may look unnatural and jarring to viewers. If they have noticeable seams, it may disrupt realism.
Solution: Use the soft brush or feathering tool to create soft, faded looks along the edges. If the composite images contain complicated subjects, like hair, trees, etc., use the refine edge tool to tackle complex edges perfectly.
04. Maintaining Color Balance
Problem: Imbalanced colors and hues in different elements of a composite image can make it look dull, flat, or unrealistic.
Solution: Use color correction tools to improve, repair, and correct the color. It enables you to adjust the white balance, hues, saturation, and contrast in a photo. Also, utilize the color grading function to set a mood and tone with your color palette.
05. Realistic Depth and Perspective
Problem: When a composite image delivers two completely different perspectives and depths, it may confuse viewers.
Solution: Work on all visual elements to add consistent perspectives and depth. This will help you make the visual more dynamic, interesting, and engaging. Use transform tools to align all aspects appropriately. Another handy function is a depth-of-field effect to selectively blur a particular section of an image and highlight important areas.
06. Mismatched Reflections and Refractions
Problem: When reflections and refractions don’t match well with image lighting and angles, it breaks visual coherence and disrupts natural light flow.
Solution: Evaluate the scenario to determine the best area to add reflections and refractions. Use layer styles to apply different visual effects and distortion tools to fix lens and perspective distortions.
Similar Reads for You
FAQs
What is the difference between a photomontage and a composite image?
A composite image is a blended mode of a single image from multiple visuals and delivers a single or common perspective. However, a photomontage is a set of multiple images. But each photo conveys a unique perspective or message.
What is an example of a composite image?
A solitary elephant atop a sand dune under a glowing sunset, a baby child sleeping inside a cozy matchbox bed, etc., are examples of composite images.
What size is a composite photo?
The standard size for composite photos can be anywhere from 16″x20″ to 50″x73″, depending on the context, perspective, and purpose.
What is the ratio of composition photos?
Most professionals recommend using a 3:2 ratio for composition photos. However, the 4:5 ratio is also okay to use for social media platforms.
Conclusion
Creating composite images is fun and exciting as you have limitless options to explore. But you have to be good at both composite photography and post-production. First, learn the techniques of capturing pixel-perfect images and merging them through editing to get your desired output. Hopefully, you got a clear overview of what is a composite photo and how to create one.